
From The Exclusive Collection of FREE Plant-Based Recipes
By Plant-Based Nutrition Professional Chef Susy • Designed For Effortless Weight Loss & Weight Maintenance
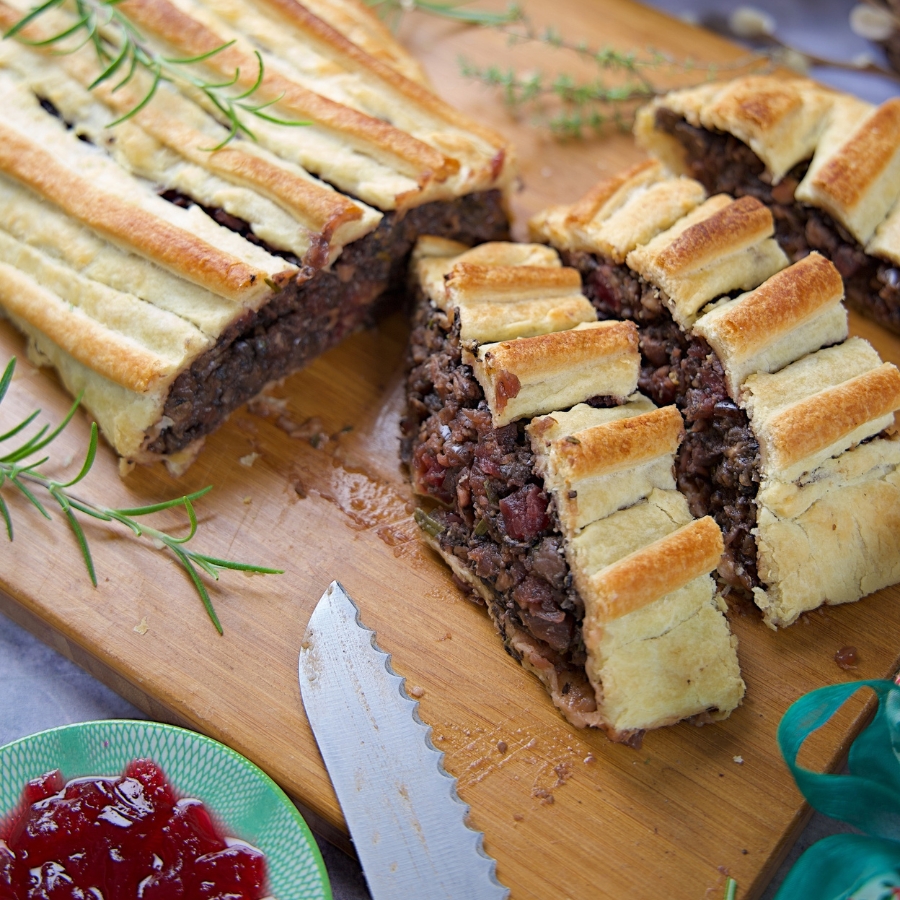
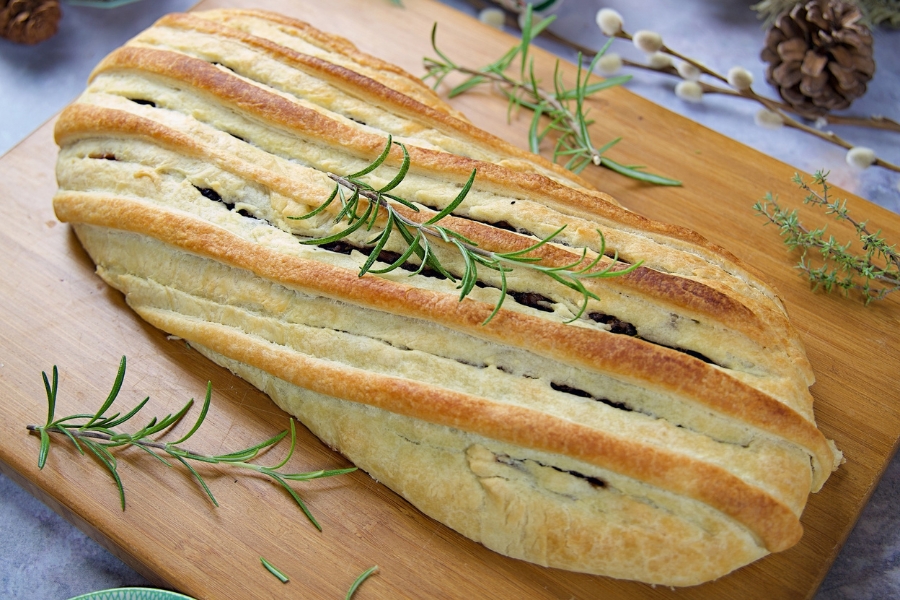
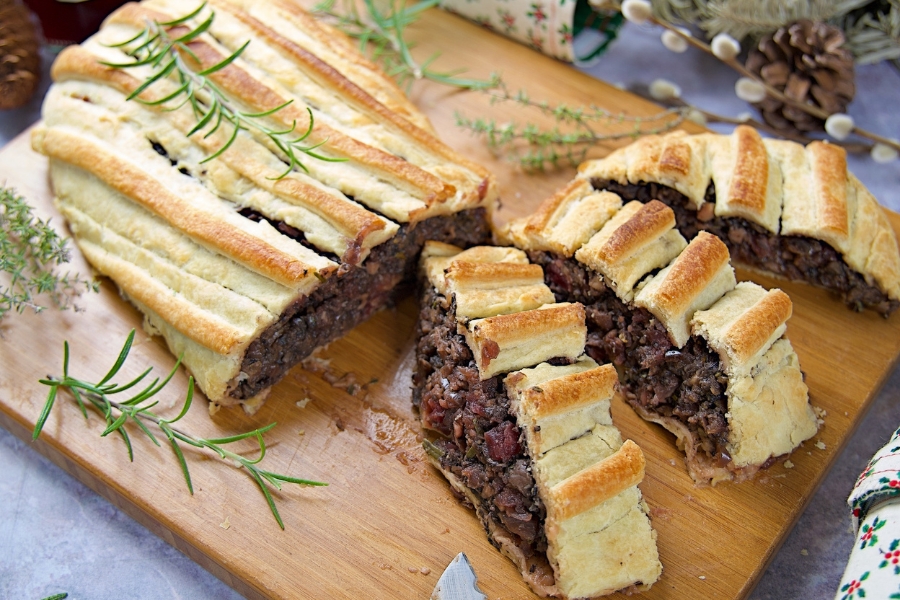
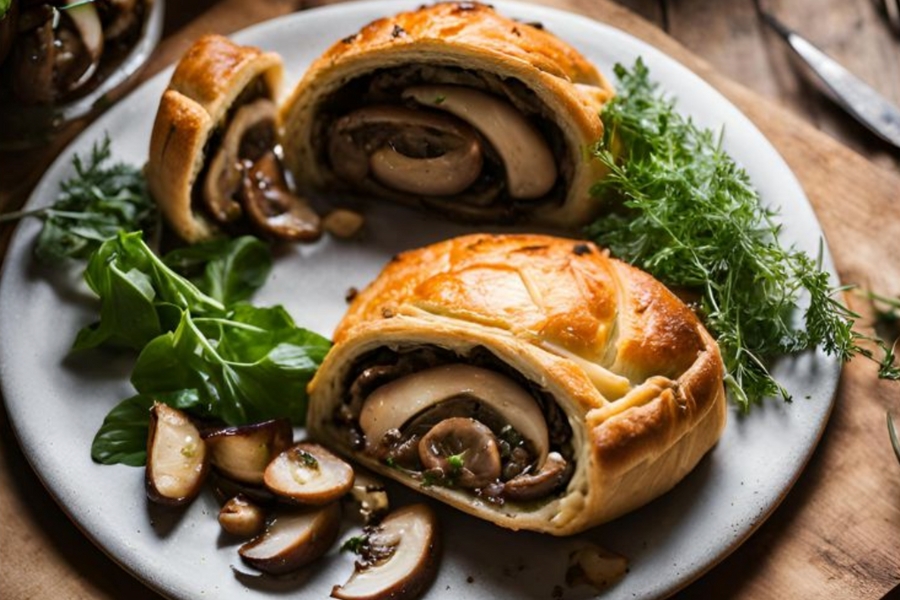
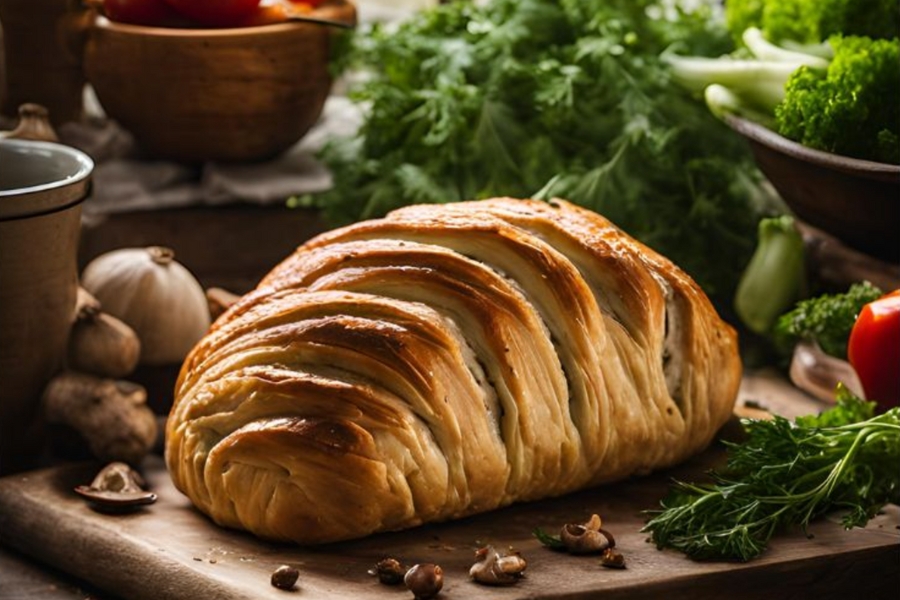
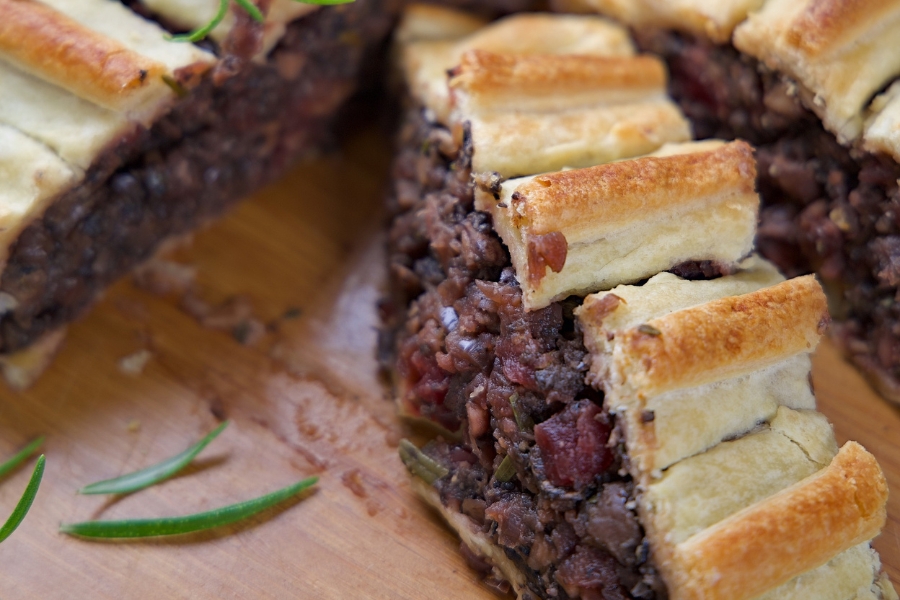
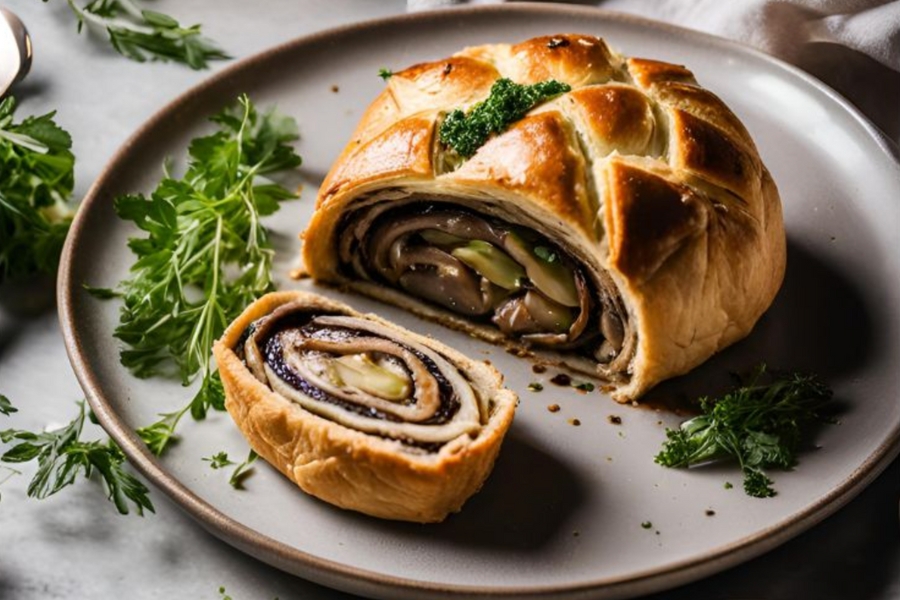
Plant-Based Mushroom & Chestnut Wellington
Meet your new holiday favourite: the Plant-Based Mushroom & Chestnut Wellington! Packed with savoury mushrooms, festive chestnuts, and a medley of aromatic herbs, all wrapped in golden, flaky perfection. This vegan showstopper isn’t just food—it’s a celebration on a plate. 🎄✨

Prep Time: 20 Mins | Cook Time: 90 Mins
Total Time: 1 Hour & 50 Mins | Servings: Adjustable
Let's Be Friends!


Hi, I'm Susy
Here at
LEAN💚Plant-Based
we share whole food plant-based recipes, inspired by cuisines from all around the world: Reimagined for optimum health, and redesigned for sustainable weight loss and control.
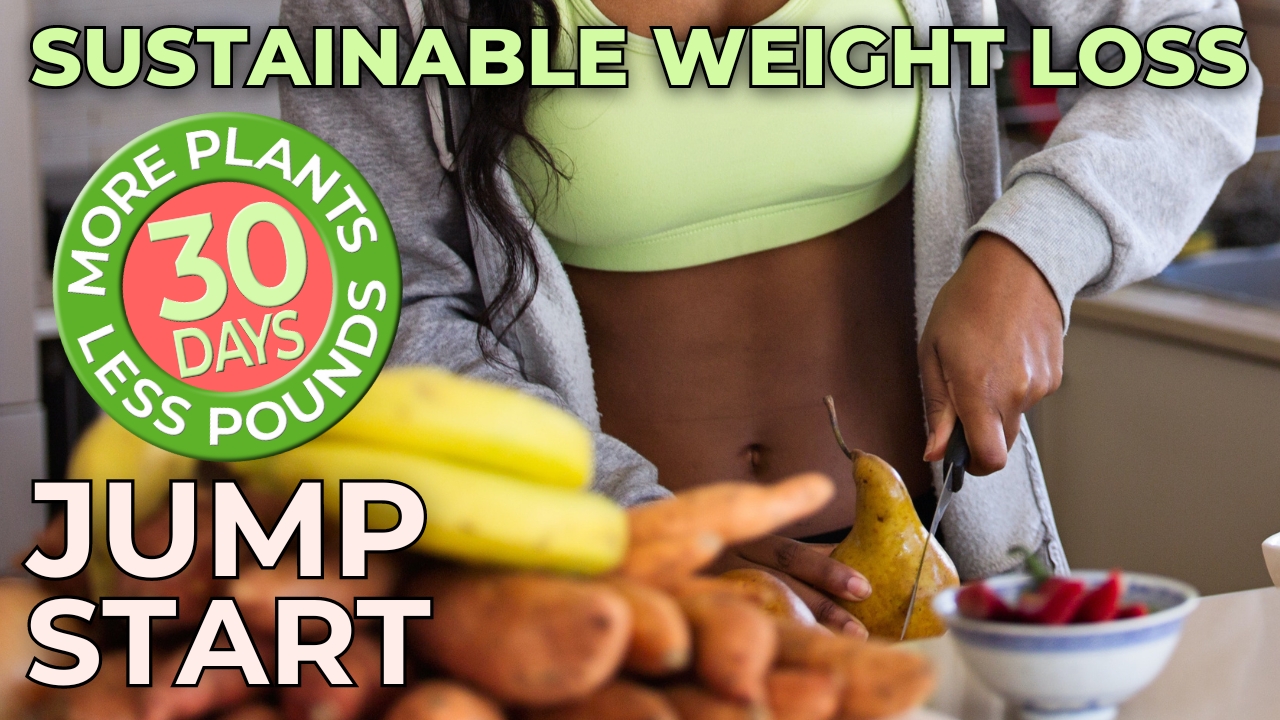
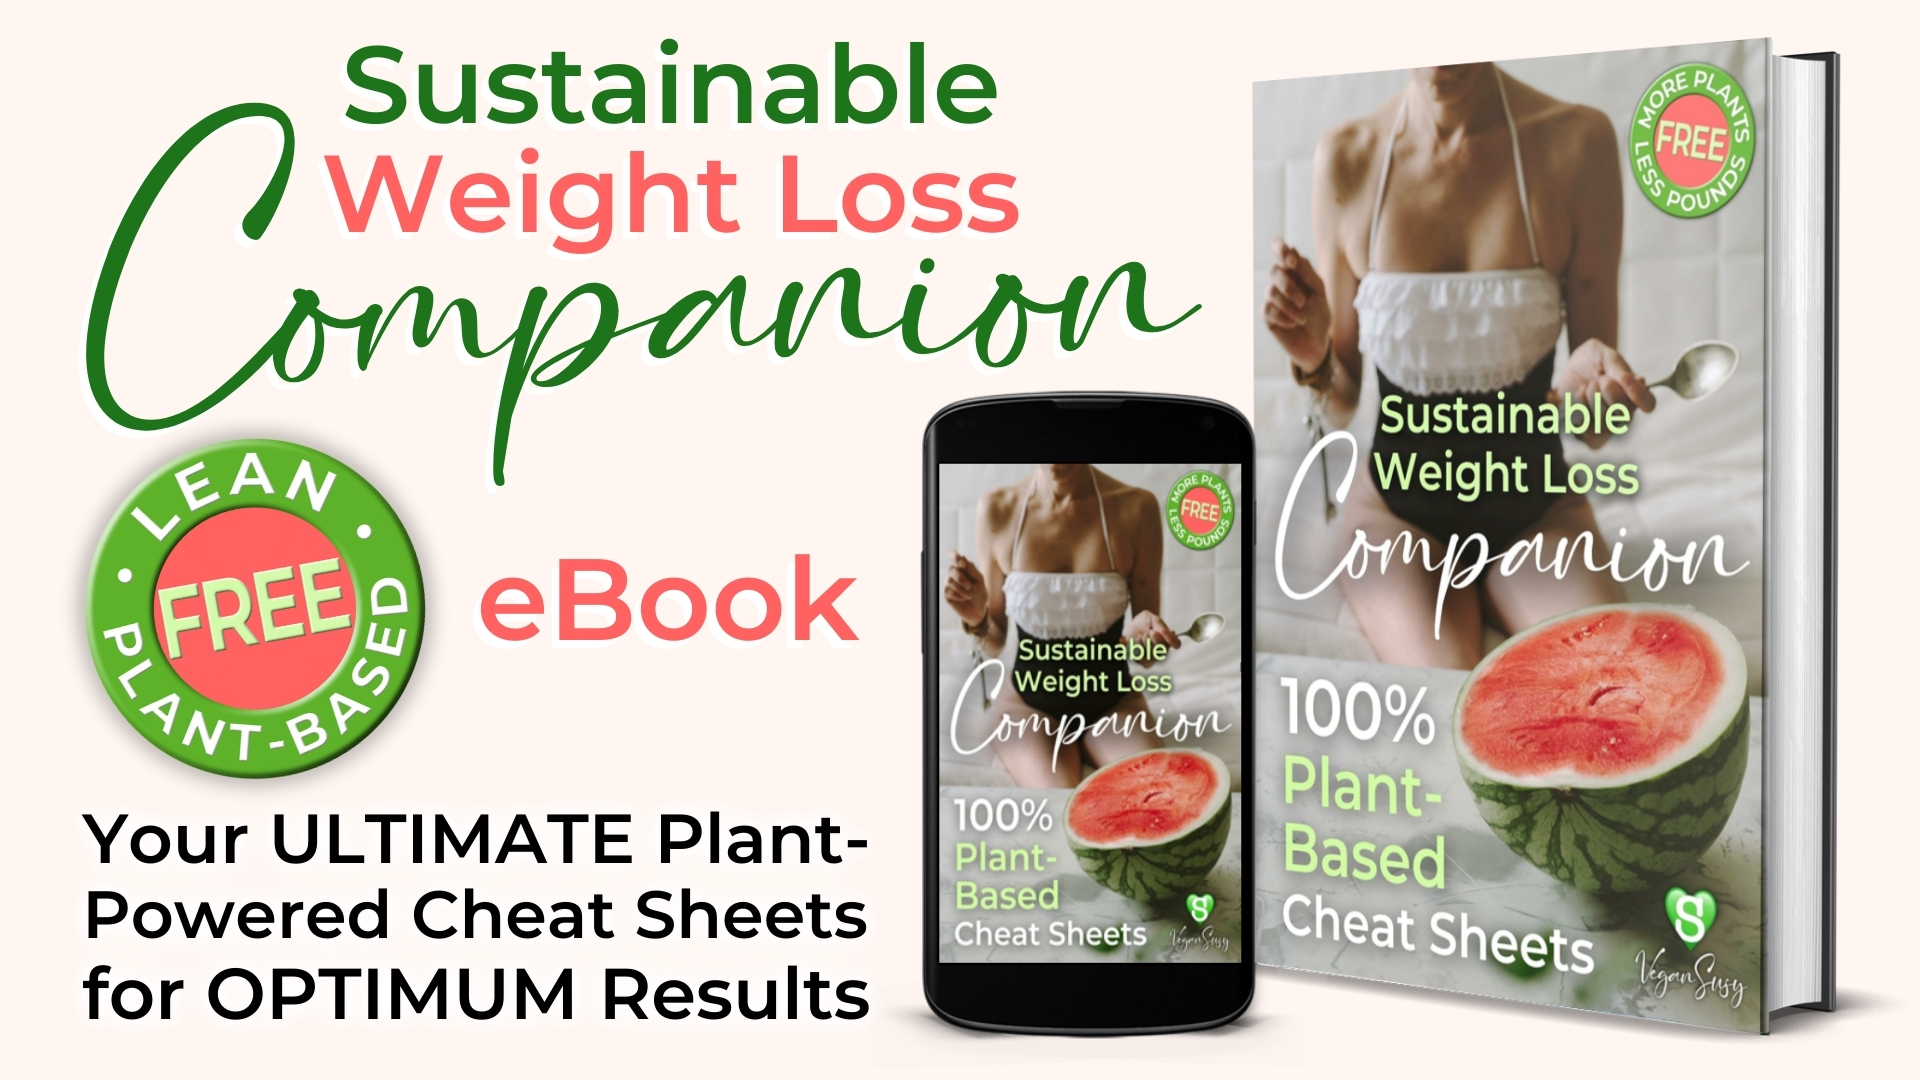
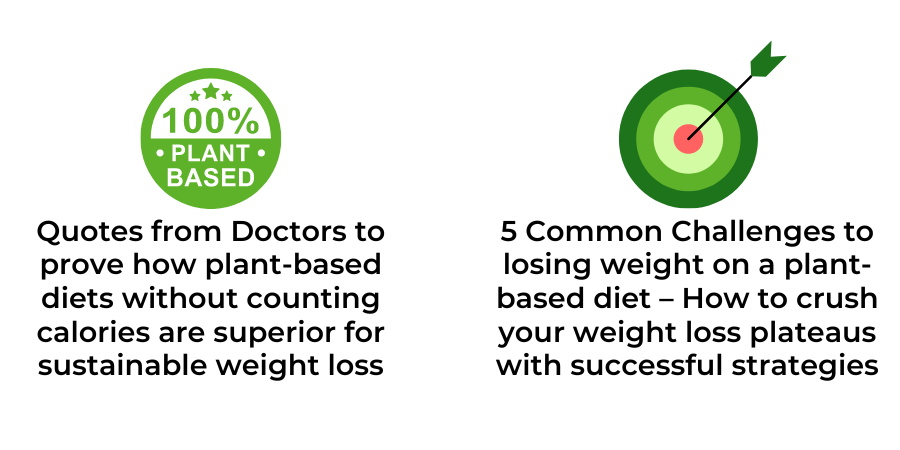
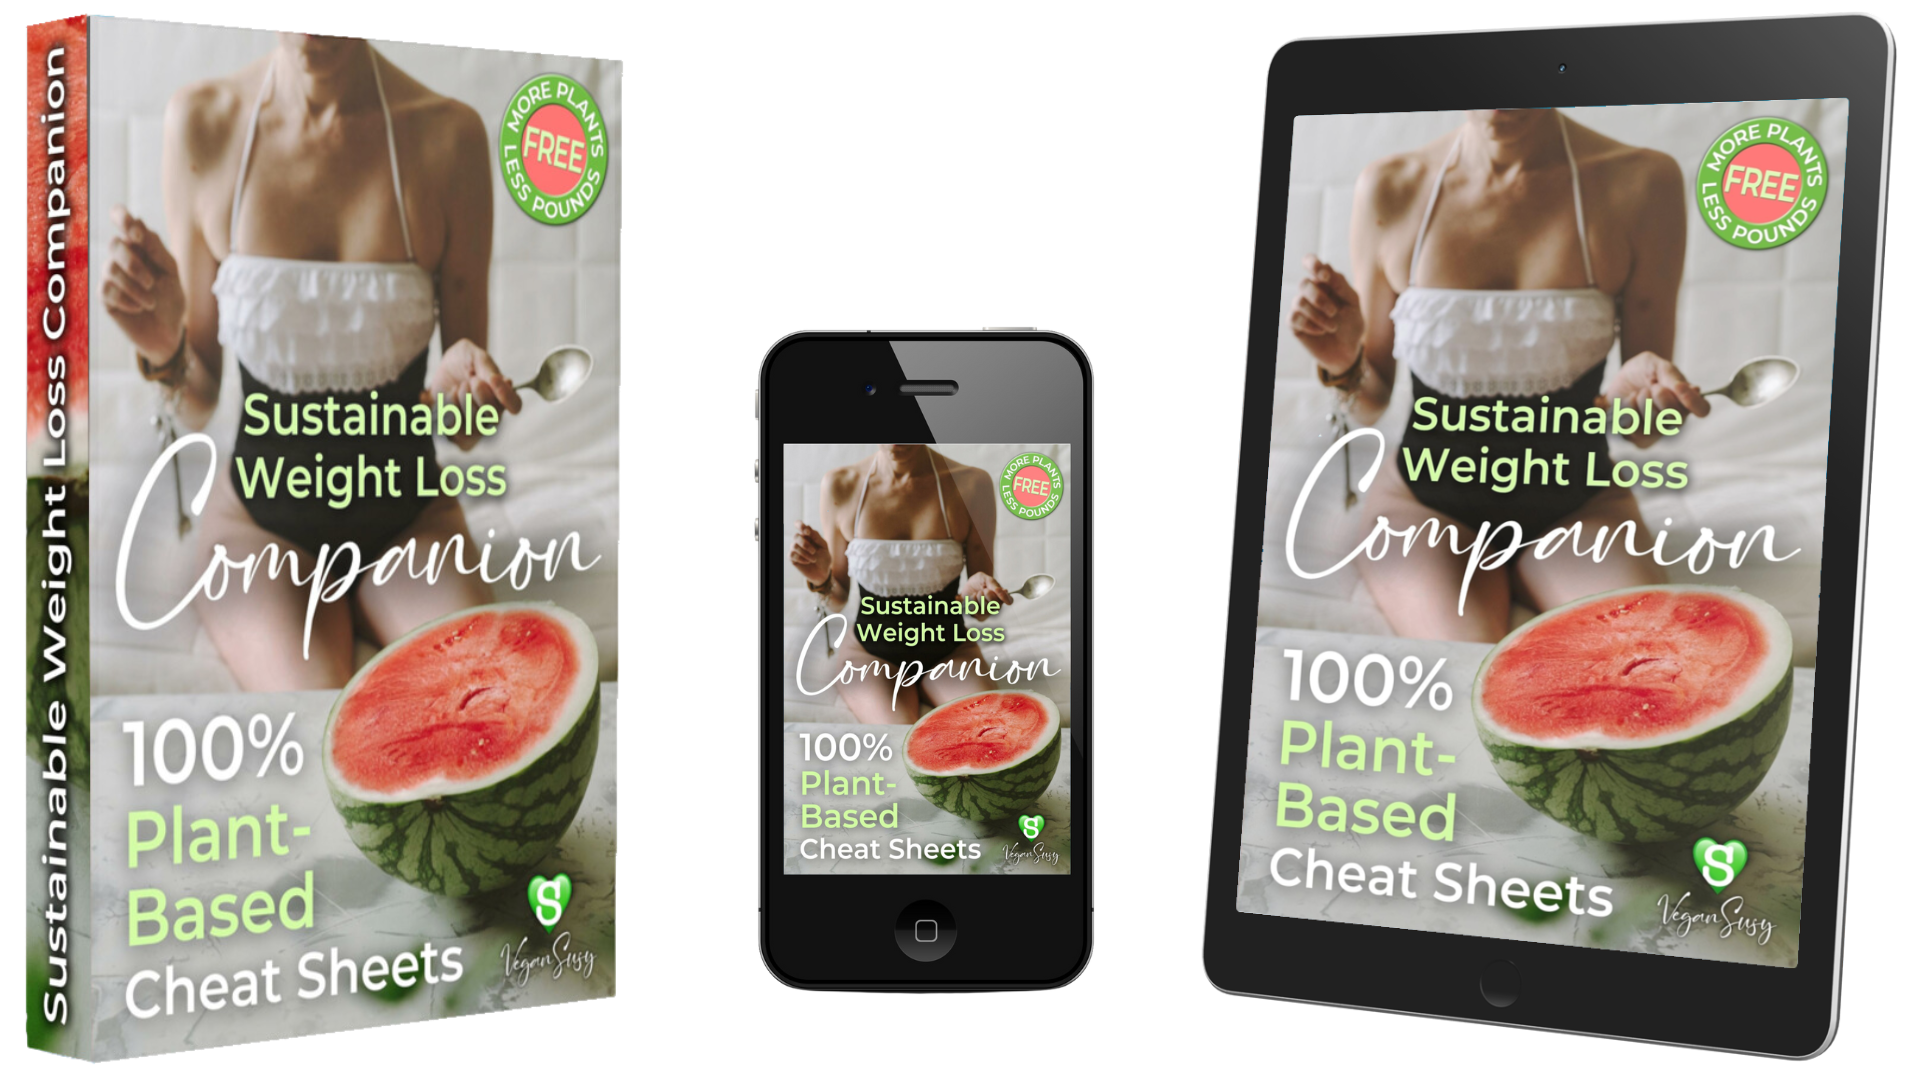
Get My FREE eBook:
The Sustainable Weight Loss Companion
👇🏼
Christmas is upon us, and if you’re looking for a delicious vegan option (or just something different) to spruce up your menu, this vegan mushroom and chestnut Wellington will blow you away. The filling of this Wellington is fabulous on its own; I mean you could end up eating spoonfuls of it… and the nutrition? Unbelievable.
Let’s get to the recipe, right away 😁
Table of Contents
Why This Recipe Works
So Good
Deciding on a Christmas dinner menu, for me, is always a big deal. This year, again, I’ve been planning for days. Yes, I know there’s still a month till Christmas (sorry, not sorry 😜). But maybe I’m just too excited? So, anyway. Back to the story. When I tried this recipe, I knew it HAD to be a part of the menu for this special day. It’s just that good. Pair it with maple syrup-glazed carrots, and you’ll have the most perfect meal idea ever.
Nutrient-Dense
We all tend to have cheat days at Christmas… but as enjoyable as those few moments are, the guilt really clouds the excitement of the festivities. Don’t worry, not this year. Vegan Chestnut Wellington is…
Oil-free
Fat-free
Low-calorie
Rich in protein (9.2 g per serving)
…and doesn’t compromise even one bit of the flavour!
Customisable
Sure, the ingredient list might seem long, but it’s quite simple. And there’s so much that can be customised. Can’t find a particular ingredient, or just don’t like its flavour? Replace it with what you have/like (see details in the substitution section below). The final result is still as delicious, I promise.
Recipe Ingredient Notes
Mushrooms (diced small or blended). The key ingredient to add a meaty flavour… without actual meat. I tend to use brown/chestnut mushrooms, but a mixture of wild mushrooms with chestnuts tastes good, too.
Whole chestnuts (blitzed). For a lovely festive flavour—and an added bonus of bulking up the filling. Store-bought ready-cooked is perfect here (tastes good and saves time!). See Tip 1.
Fresh beetroot (cubed small). Gives the filling a beautiful deep red colour. Also comes with a mildly sweet flavour that complements the overall profile really well. See Tip 1👇🏼
Parsnip (cubed). I cut it into small cubes and fry off to turn it soft with the veggie filling.
Yellow onions (diced small). Perfect for caramelising—and also keep the flavour subtle, so you don’t have to worry about overpowering the filling with an overly onionish flavour.
Garlic (minced). Small but mighty; enhances the overall taste so much.
Seasoning and herbs. You will need salt, smoked paprika, fresh rosemary, fresh sage, fresh thyme, dried tarragon, celery salt, and pepper—but you can always add or subtract from the list 😄
Liquids. Really important. Their purpose is to deglaze the filling mixture (while sautéeing), and add extra flavour. I used sherry, red wine vinegar, and some lemon juice. Their acidic tastes beautifully cuts through the savoury flavours—creating the perfect balance.
Oat milk instead of “egg” wash. Remember, we’re making it vegan but maintaining the authentic, delicious taste 😋
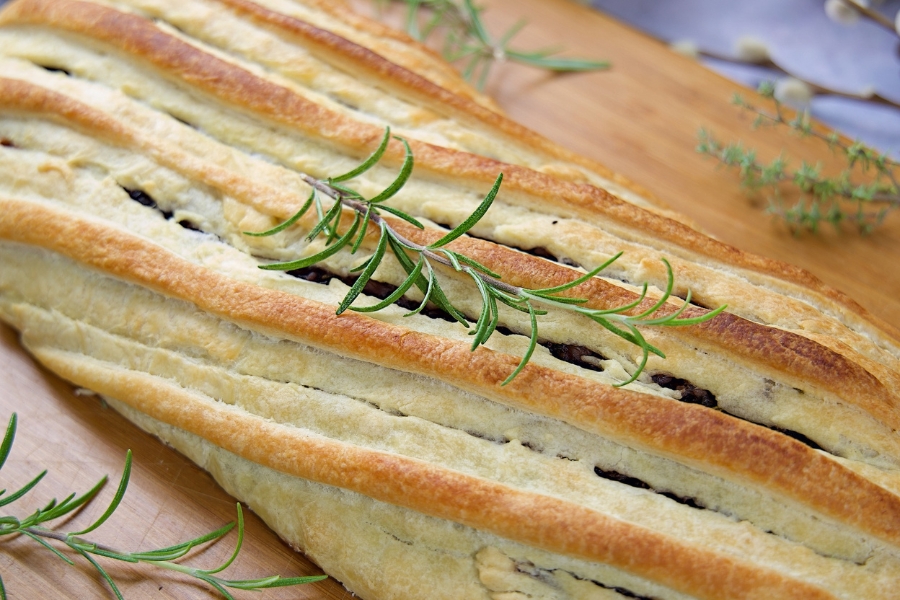
Puff pastry. I like to go for pre-rolled puff pastry. Look for a gluten-free option (if that’s a requirement). See Tip 2👇🏼
Helpful Equipment
Baking pastry brush
Sharp knife
Rolling pin
How to Make Vegan Mushroom Wellington
Boil the vegetables. First, the beetroot. It’s hard and will take a bit longer. Then, the parsnips. 5 minutes will be enough. Once soft, drain the veggies and blend lightly to a rough consistency.
Fry the onions on medium-high heat for a few minutes. We’re caramelising the onions here, but we won’t need oil (See Note 1). Just sprinkle a pinch of salt to draw out the moisture (this makes sure they don’t burn). See Tip 3👇🏼 Small amounts of sherry (added gradually) can also help. Once the onions start to brown, we’re ready for the next step.
Add the garlic and then the mushrooms. See Tip 4👇🏼 You are supposed to cook until they release moisture. Deglaze with the rest of the sherry, then stir in the chestnuts.
Time to combine. Add the beetroot-parsnip mixture to the fried mushrooms. Then stir in the liquids (except the oat milk) and seasonings. Don’t forget to taste-test to adjust the flavours.
Prepare the puff pastry while the filling cools. Switch on the oven at 190°C (375°F). Unroll the puff pastry over a baking tray lined with parchment paper. Note: Trim excess paper from the tray.
Fill the pastry. Lay the (cooled) filling on the centre of the puff pastry. You’d want to shape it into a log, so there’s 1-2 inches of empty pastry on each side. Now it’s time to fold the pastries, slowly and carefully (See Tip 5👇🏼). I use parchment paper to seal the sides seamlessly and press the seams to make sure it doesn’t unfold.
Make it presentable. A fun (and important) step. Flip the Wellington, so the seam is underneath. You can then use the leftover pastry to create decorative strips (sticking them with oat milk brushed on the pastry).
Brush the Wellington with oat milk (a substitute for egg wash; See Tip 6👇🏼) and bake for about 15-20 minutes. The final result should be nicely golden brown & crisp.
Serve and enjoy on its own or with your favourite sides 😋 💚
Variations, Ideas & Notes
Substitutions
Cremini mushrooms instead of chestnut mushrooms.
Hazelnuts instead of chestnuts (the flavour profile might vary a bit).
Carrots instead of fresh beetroot.
Turnips instead of parsnip.
Dried herbs instead of fresh.
Apple cider vinegar instead of sherry.
Balsamic vinegar instead of red wine vinegar.
Almond milk instead of oat milk.
Optional Add-ons
Nutritional yeast
Tamari (not soy sauce; if you want it to be gluten-free)
Dried cranberries
Pine nuts
Chilli flakes
Dijon mustard
Sesame seeds
Notes
Cooking without oil is healthier and significantly reduces calories (good news if you’re on a weight-loss journey—this recipe is oil-free!).
The recipe is flexible; adjust ingredients and method as needed.
Pro Tips to Make Mushroom Chestnut Wellington
Do yourself a favour, and buy yourself pre-cooked chestnuts. The same applies to beetroot. Pre-cooked or pickled works best for a convenient, time-saving option.
If using frozen pastry, defrost it in the fridge overnight. Also, make sure the pastry is at room temperature, and keep your hands dry when folding—all this makes handling the pastries much easier.
When caramelising the onions, a quick tip to remember is “the longer, the better.” If you’re short on time, 15 minutes will work. Just stir occasionally, and don’t let them burn.
Wipe the mushrooms fully before frying. When I say fully, I mean every bit of the mushrooms—you don’t want them to be soggy.
You need to be patient. The filling needs to cool down thoroughly before you can start layering it on the pastries (or it’s gonna be too hard to fold them!).
If you want a beautiful golden look, don’t skip the oat milk coating at the end. Brush the sides as well as the top, but be as generous as possible. We don’t want to rip open the pastry.
You’re gonna need some patience again 😬 Briefly wait after removing the tray from the oven to allow your Wellington to cool, so it’s easier to plate each piece without ruining the beautiful presentation.
Frequently Asked Questions
How to serve plant-based chestnut mushroom Wellington?
If we’re having this for Christmas dinner (which I surely will), then I’d like to pair it with…
Roast potatoes
Roasted Brussels sprouts
Cranberry sauce
And if I’m having it for a delicious Sunday lunch, I’d go for combos like…
Wellington with broccoli
Wellington with mashed potatoes and steamed vegetables
Wellington with Tabbouleh salad
Wellington with Tomato and Basil sauce
How to store vegan mushroom Wellington?
Although the dish is best when enjoyed fresh, there’s no need to waste the leftovers. You can store them in the refrigerator for around 2 days. I had the best results by storing my Wellington in a glass dish covered with aluminium foil, and re-heating for about 30 minutes. I removed the foil towards the last 10 minutes of heating.
Is plant-based chestnut Wellington meal prep friendly?
Well… that’s one of the primary goals for every recipe I create; it must be meal-prep friendly. I want y’all to have an easy (but of course delicious) vegan lifestyle.
Simply prepare the filling and keep it in the fridge to cool for up to 2 days. You can then layer it over the pastry, fold, and bake. Easy peasy 💥
Even better (and more time-saving), make the entire dish ahead—just skip the oat milk covering for now. Keep it in the fridge and remember to give it the oat milk “egg” wash coating before baking.
Can I freeze this Wellington?
Yes! Freeze before baking and cook from frozen, adding an extra 10-15 minutes to the baking time.
What sides pair well with this dish?
Serve with maple-glazed carrots, mashed potatoes, or a rich vegan gravy for a complete holiday meal.
Did You Love the Recipe as Much as I Do?
Leave a ⭐⭐⭐⭐⭐ rating on the recipe card—and don’t forget to tag me @vegan.susy on Instagram to show me your 👩🏻🍳MasterChef creation 🤗
More Festive Fun Recipes…
More Mushroom-Based Recipes…

More Free Resources
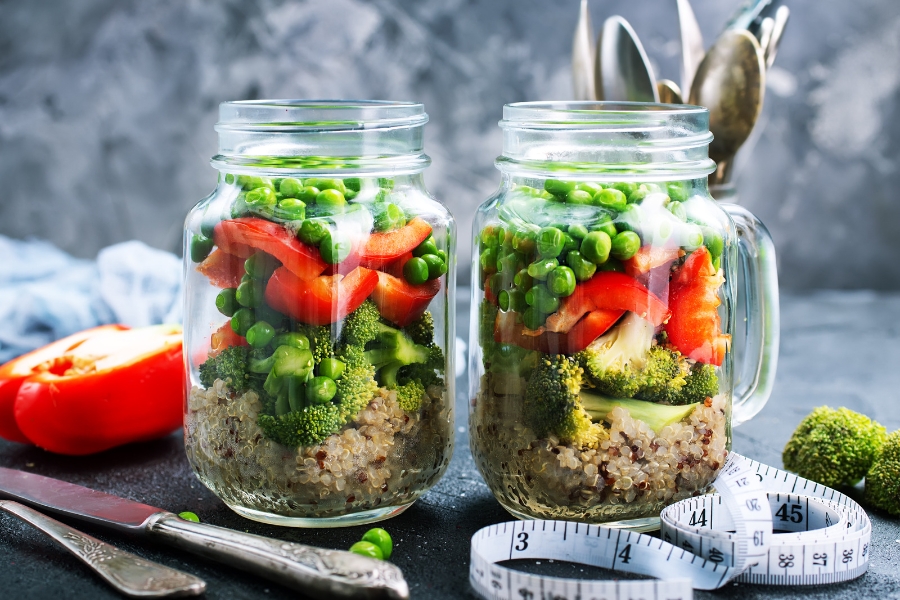
The Ultimate Guide to Plant-Based Meal Prep for Vegan Weight Los
Ready to revolutionise your meals and your health? Look no further than a vegan diet! Discover the ease and benefits of meal planning and preparation with simple strategies and my tasty make...
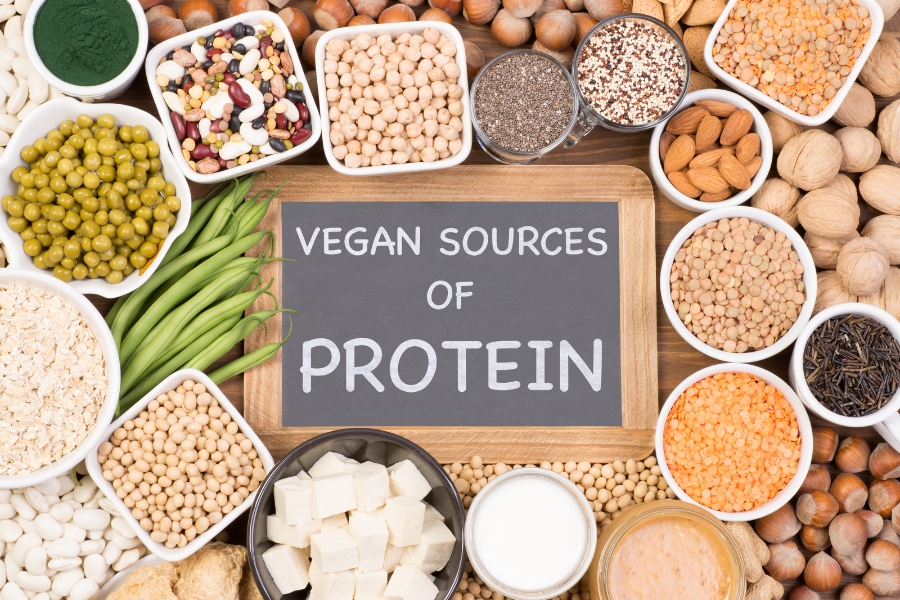
Top 15 Plant-Based Protein Sources for a Vegan Diet
As a vegan health coach and plant-based nutritionist, I often get asked about plant-based protein sources. After all, protein is an essential nutrient that plays a vital role in the function and structure of our...

How Much Exercise Do You Really Need on a Plant-Based Diet?
Are you wondering how much exercise you need to get in shape and boost your energy on a plant-based diet? Look no further! In this post, we’ll dive into the optimal amount of exercise for optimal…
Unlock Your Transformation Today!
Empower Yourself: Embark on a Delicious Fat Loss Adventure

🍉 Get Ready to Jump Start Your Fitness Goals AND DISCOVER A HEALTHIER YOU!
🍉 Let's Make Your Fat Loss & Optimum Health Journey a Delicious Success Story!
🍉 Get The FREE Sustainable Weight Loss Companion eBook and CHEAT SHEETS!
Let's Be Friends!