

From The Exclusive Collection of FREE Plant-Based Recipes
By Plant-Based Nutrition Professional Chef Susy • Designed For Effortless Weight Loss & Weight Maintenance
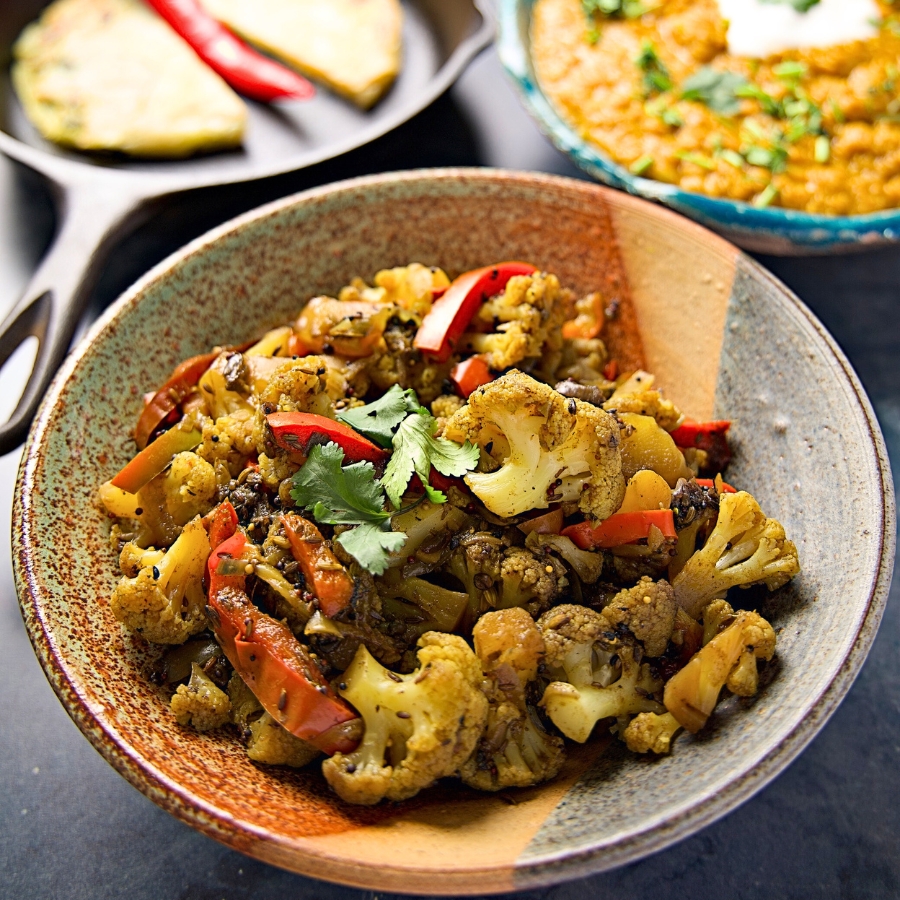
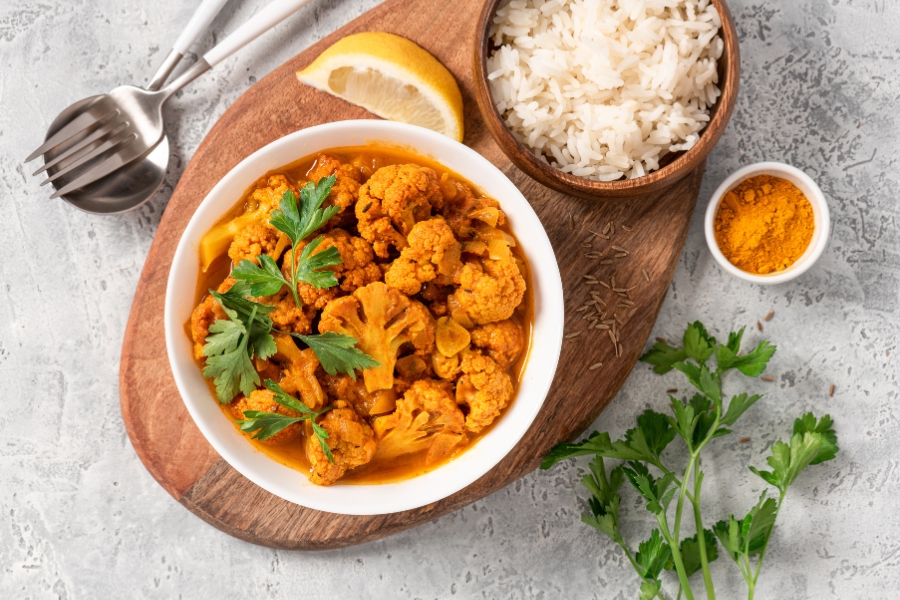
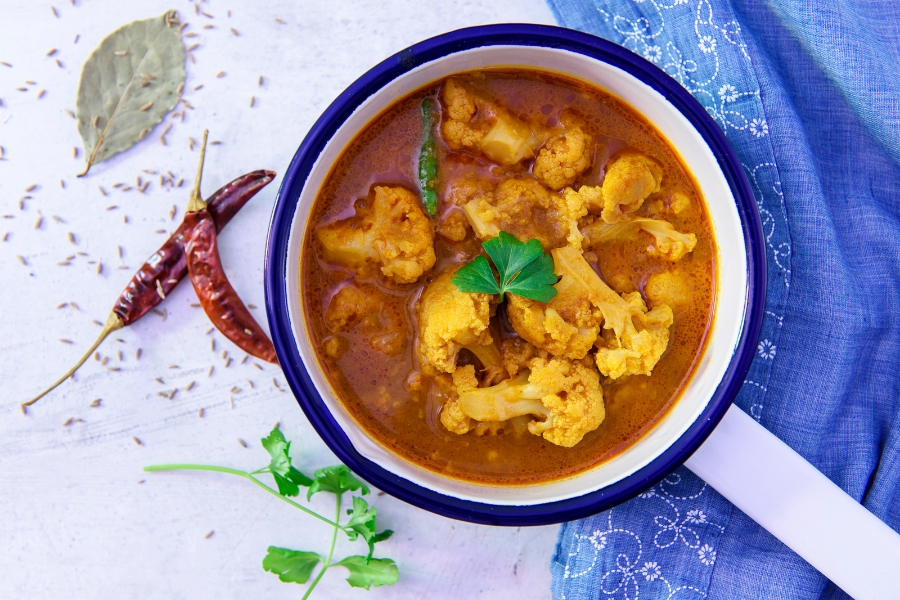
Easy Vegan Cauliflower Curry
(No-Oil)
This vibrant vegan cauliflower curry is bursting with flavour but skips the oil for a guilt-free, feel-good meal. Ready in under 15 minutes with pantry staples, it's your perfect weeknight saviour. And it's endlessly customisable.

Prep Time: 5 Mins | Cook Time: 10 Mins
Total Time: 15 Mins
Servings: Adjustable

Let's Be Friends!


Hi, I'm Susy
Here at
LEAN💚Plant-Based
we share whole food plant-based recipes, inspired by cuisines from all around the world: Reimagined for optimum health, and redesigned for sustainable weight loss and control.

Get My FREE eBook:
The Sustainable Weight Loss Companion
👇🏼


Everyone’s got their comfort food—and for me, it’s the vegan cauliflower curry.
This oil-free cauliflower bhaji (you might have heard it by the name ‘Sukka Gobi’, that’s the Indian term) is all you need for the days you’re too tired to do anything, let alone cook a full-course meal.
It’s super yummy and, best of all, so healthy as well as simple to make.
Table of Contents
Why This Recipe Works
Healthy
It’s a no-oil recipe. Sounds healthy, right? Paired with that, I used cauliflower rice instead of regular rice—made sure our fat loss goals are not compromised in any way. And in case you think this might have sacrificed the flavour, let me tell you: it tasted AH-MA-ZING!
Vegan-Friendly
Isn’t cauliflower bhaji already vegan? It is. But that’s only if you use plant-based milk, like I did. And don’t worry—the curry still holds its authentic Indian flavour.
Customisable
The best thing about comfort food (like the cauliflower curry) is its flexibility. If you’re missing an ingredient, you’ll be able to replace it with one already available in your pantry. And the bhaji will still taste as delicious.
Nutrient-Packed
Comfort food and nutrition—together? With the cauliflower curry, it really is possible! The dish is packed with healthy nutrients and vitamins. And, most importantly, it’s oil-free.
Here’s a quick list of the major nutrients you can expect to enjoy from my cauliflower bhaji recipe—
Vitamin C and K (from cauliflower)
Antioxidants (from garlic and ginger)
Iron (from turmeric)
Manganese and magnesium (from panch puran)
Ingredients for Plant-Based Cauliflower Curry
Cauliflower. The star ingredient. It has a mild, slightly sweet flavour that readily absorbs the spices to create a flavourful base. Look for firm, white florets with no brown spots. Tip: The leaves are edible and add a nice touch.
Onion (sliced thin). Adds depth that mellows with cooking. Yellow onions work well. You can also try red or white varieties. Tip: Use shallots for a milder onion flavour.
Garlic (minced) and ginger (grated). Fresh is best. Use firm garlic cloves and plump ginger root for perfect flavour.
Spices (cumin and turmeric). Cumin adds an earthy touch and turmeric offers a slightly peppery flavour.
Panch puran (also called panch phoron). This Indian spice blend (typically made of fennel seeds, fenugreek, nigella seeds, black mustard seeds, and cumin seeds) adds a fragrant layer of warmth.
Oat milk. Forms the creamy, plant-based base. I used unsweetened oat milk for better control over the sweetness of the dish.
Pinch of salt and pepper to enhance all the other flavours.
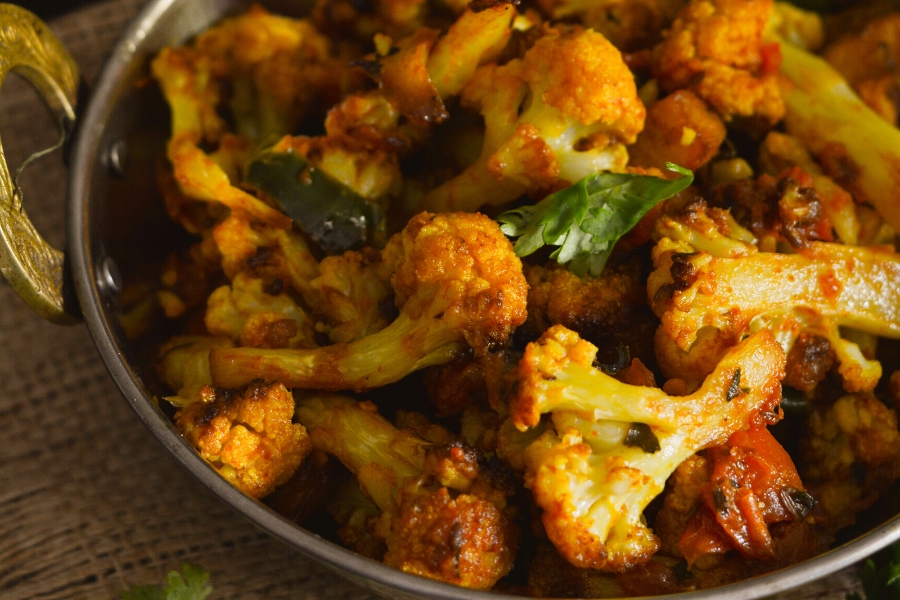
How to Make Vegan Cauliflower Curry
Dry fry the onions (optional). Fry the sliced onions (sprinkled with a pinch of salt) for a few minutes until softened and translucent.
Mix in the spices. Add the minced garlic and grated ginger to the pan (with the onions). Fry for one minute. Now add the spices to the pan and dry fry them for about a minute to release their aromas. Tip: Grind the spices of the panch puran between your palms before adding them to the pan.
Deglaze (if needed). If the pan seems dry or the spices are sticking, add a splash (about one tablespoon) of oat milk to deglaze the pan. This loosens any browned bits and incorporates them into the sauce.
Incorporate cauliflower. Add the cauliflower florets to the pan. Stir well to coat them with the spice mixture.
Simmer with oat milk. Pour in the oat milk; once the mixture boils, reduce the heat to low and cover the pan with a lid. You can then leave it to simmer for about 5 minutes.
Adjust consistency. Check on the cauliflower. If it’s not tender yet, you can simmer it for a few more minutes. If there’s too much liquid, remove the lid and let it simmer for a bit longer to evaporate some of the moisture. (Remember, it should be dry).
Serve and enjoy. Season the dish, switch off that heat, and your vegan cauliflower bhaji is ready! Time to enjoy... Mmm 😋
Variations, Ideas & Notes
For some extra spice, add chopped red or green chillies with garlic and ginger.
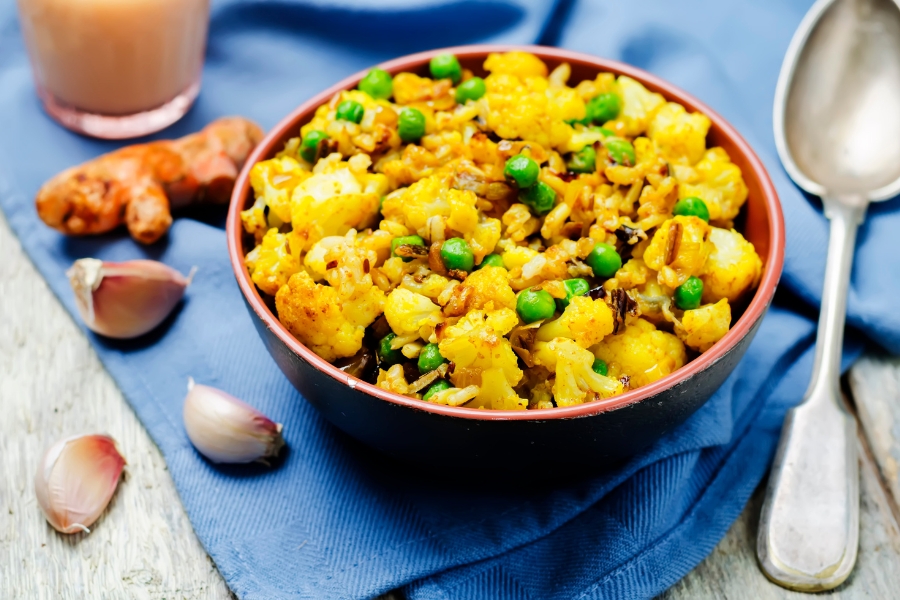
To introduce a pop of colour, mix in a cup of chopped green beans or frozen peas.
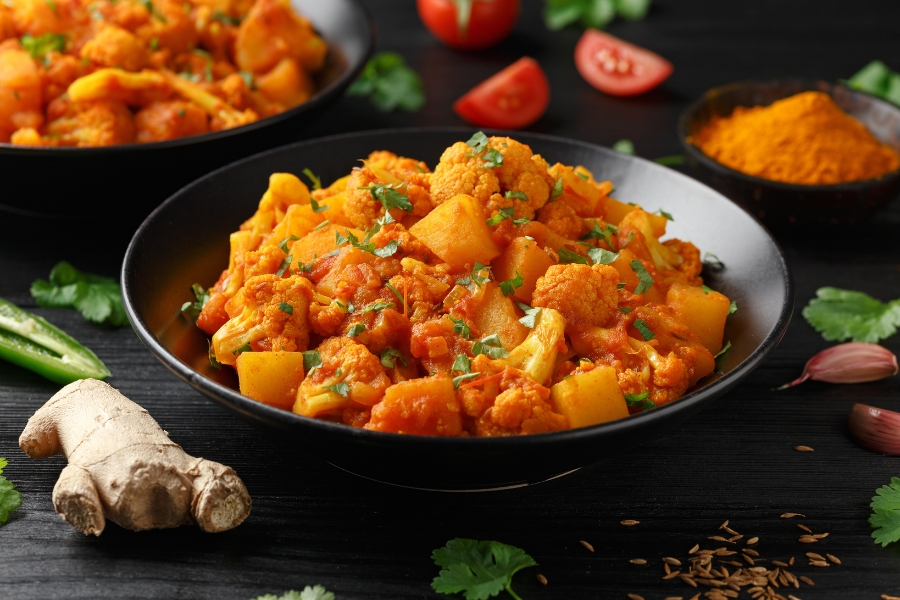
For some extra nutrition, add chickpeas. Chopped cooked potatoes will do the trick, too.
To enjoy a smoky depth, replace cumin with smoked paprika.
For a classic curry flavour, stir in some mild curry powder.
To give the curry a richer texture, replace the oat milk with coconut cream.
You can even transform the regular Indian Bhaji into a Thai Curry or Morrocan dish—
Thai Curry – Use red curry paste and green curry paste (1 tsp each) instead of panch puran.
Moroccan Twist – Opt for ground coriander and ras el hanout spice blend (1 tsp each) instead of cumin and turmeric.
Pro Tips For This Recipe
I toasted the spices before grinding them; this helped release their aromas.
Don’t like that large piece of ginger overpowering your bite? Make sure to mince the ginger and garlic finely beforehand, and you’ll be good to go.
After adding the cauliflower florets, let them cook for a minute or two without stirring.
For a creamier sauce, I gently mash some of the cauliflower florets with a potato masher to release their starch and thicken the sauce naturally. You can also whisk in a cornstarch slurry for a silky smooth texture.
For a plant-based protein boost, you can add some crumbled (and pan-fried) tofu with the spices.
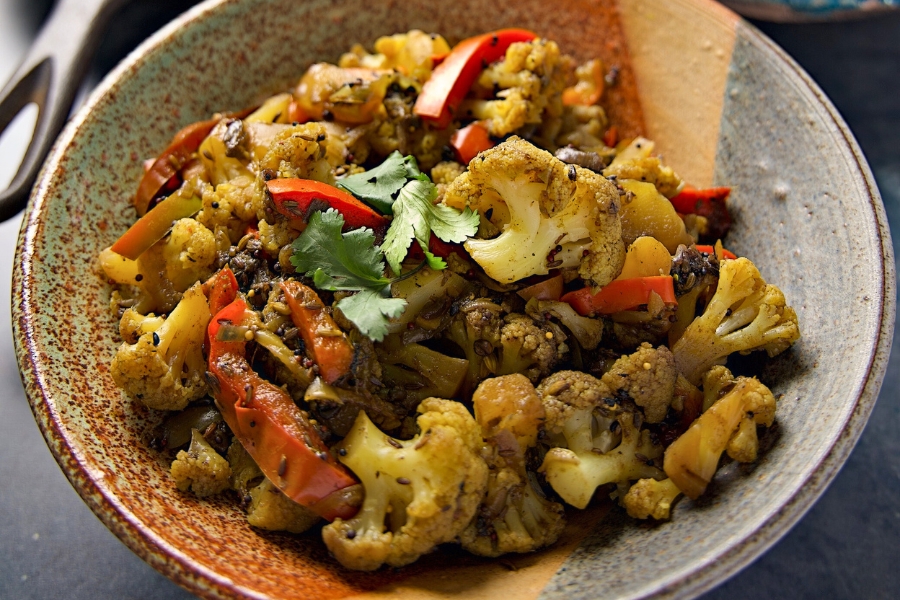
Feel free to add more vegetables to boost the nutritional profile of your cauliflower bhaji. I used cabbage and even tried it with bell pepper (both taste amazing). Tip: Add the additional vegetable at the same time as the cauliflower.
This is a dry dish, so simmer the bhaji uncovered to let the sauce thicken and reduce.
Do not overcook the veggie once it has steamed.
Give your bhaji a restaurant-worthy look by garnishing it with coconut cream. And, perhaps, fried onions.
Frequently Asked Questions
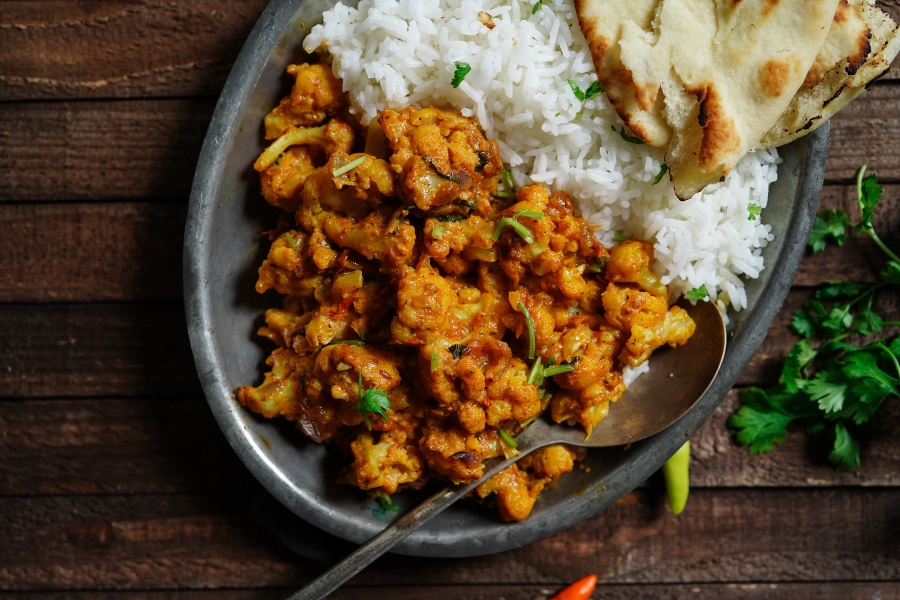
How to serve cauliflower bhaji?
One thing I love about Indian dishes is their versatility (apart from their mouthwatering taste, of course 😉). I’m listing a few of my favourite pairings with cauliflower—you can always try your own creative ideas!
Cauliflower curry and—
How to store cauliflower bhaji?
It’s super simple. All you have to do is transfer the vegan cauliflower curry to a container and store it in the fridge. It will stay fresh for 2 to 3 days.
To reheat the bhaji, heat it in a pan over medium flame. Tip: Adjust the consistency with a splash of oat milk and top it with cilantro or (any fresh herbs) before serving.
To keep cauliflower bhaji fresh for longer (around 3 months), you can store it in the freezer. However, the cauliflower florets will slightly change their texture when frozen.
How can I make this curry creamier?
Add coconut milk or blended cashews for a rich, creamy texture while keeping it dairy-free.
Can I use frozen cauliflower?
Yes! Just thaw and drain excess moisture before cooking to prevent a watery curry.
Can I meal prep this curry?
Absolutely! Store in an airtight container in the fridge for up to 4 days or freeze for longer storage.
Final Words
If your go-to meal for lunch/dinner is something unhealthy, it’s time to replace it with the super delicious cauliflower bhaji—that’s equal parts nutritious. Prepared in under 10 minutes with the most basic ingredients, this healthy meal will easily become a family fave 💚
If you made the recipe, make sure to tag me on Instagram @vegan.susy

More Free Resources
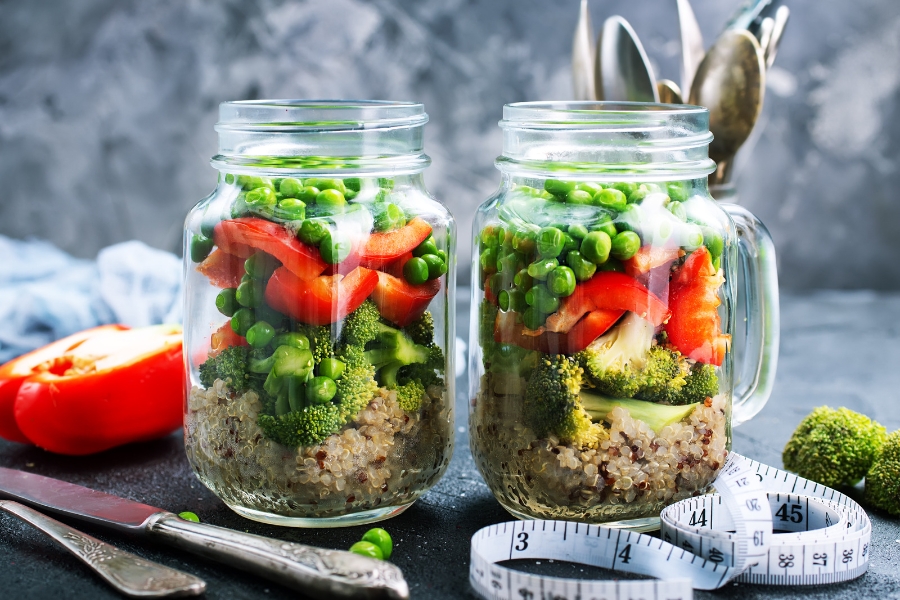
The Ultimate Guide to Plant-Based Meal Prep for Vegan Weight Los
Ready to revolutionise your meals and your health? Look no further than a vegan diet! Discover the ease and benefits of meal planning and preparation with simple strategies and my tasty make...
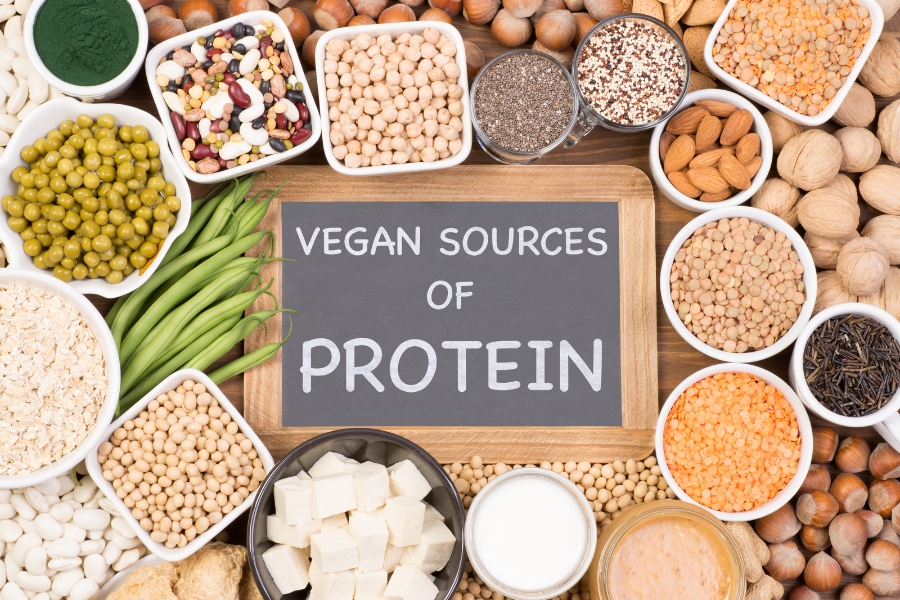
Top 15 Plant-Based Protein Sources for a Vegan Diet
As a vegan health coach and plant-based nutritionist, I often get asked about plant-based protein sources. After all, protein is an essential nutrient that plays a vital role in the function and structure of our...

How Much Exercise Do You Really Need on a Plant-Based Diet?
Are you wondering how much exercise you need to get in shape and boost your energy on a plant-based diet? Look no further! In this post, we’ll dive into the optimal amount of exercise for optimal…
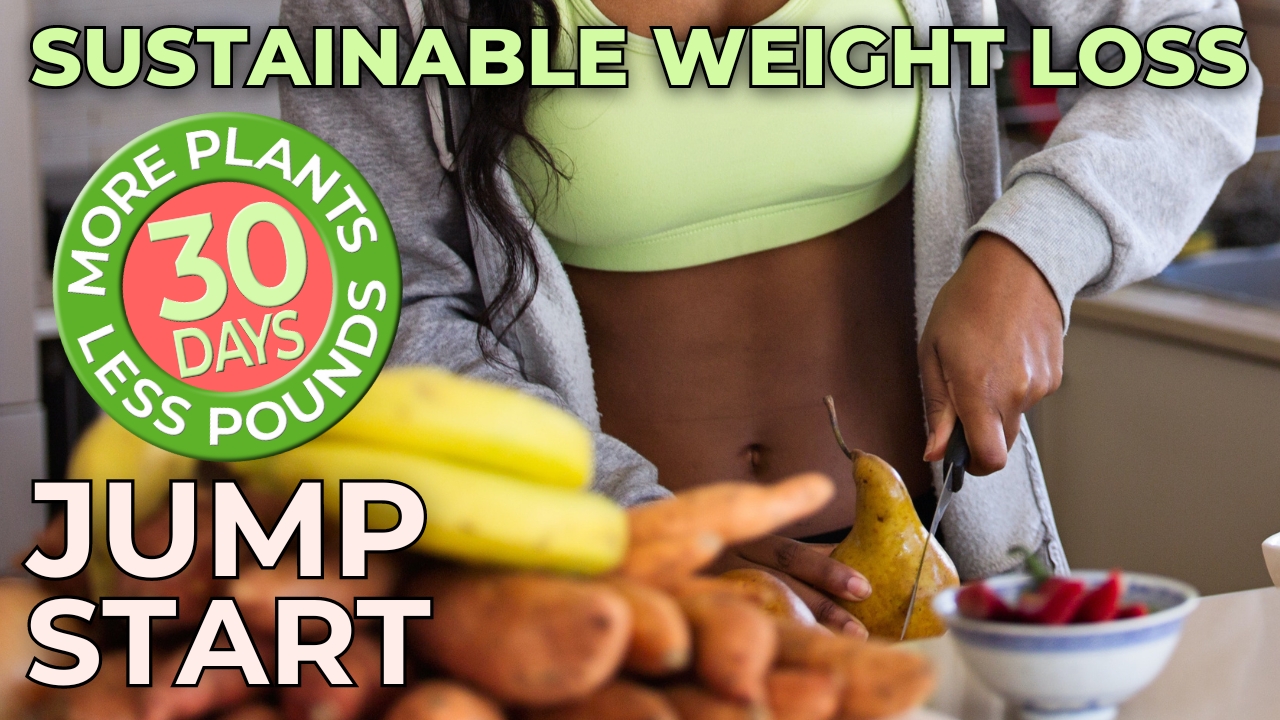
Unlock Your Transformation Today!

Empower Yourself: Embark on a Delicious Fat Loss Adventure


🍉 Get Ready to Jump Start Your Fitness Goals AND DISCOVER A HEALTHIER YOU!
🍉 Let's Make Your Fat Loss & Optimum Health Journey a Delicious Success Story!
🍉 Get The FREE Sustainable Weight Loss Companion eBook and CHEAT SHEETS!
Let's Be Friends!