
From The Exclusive Collection of FREE Plant-Based Recipes
By Plant-Based Nutrition Professional Chef Susy • Designed For Effortless Weight Loss & Weight Maintenance
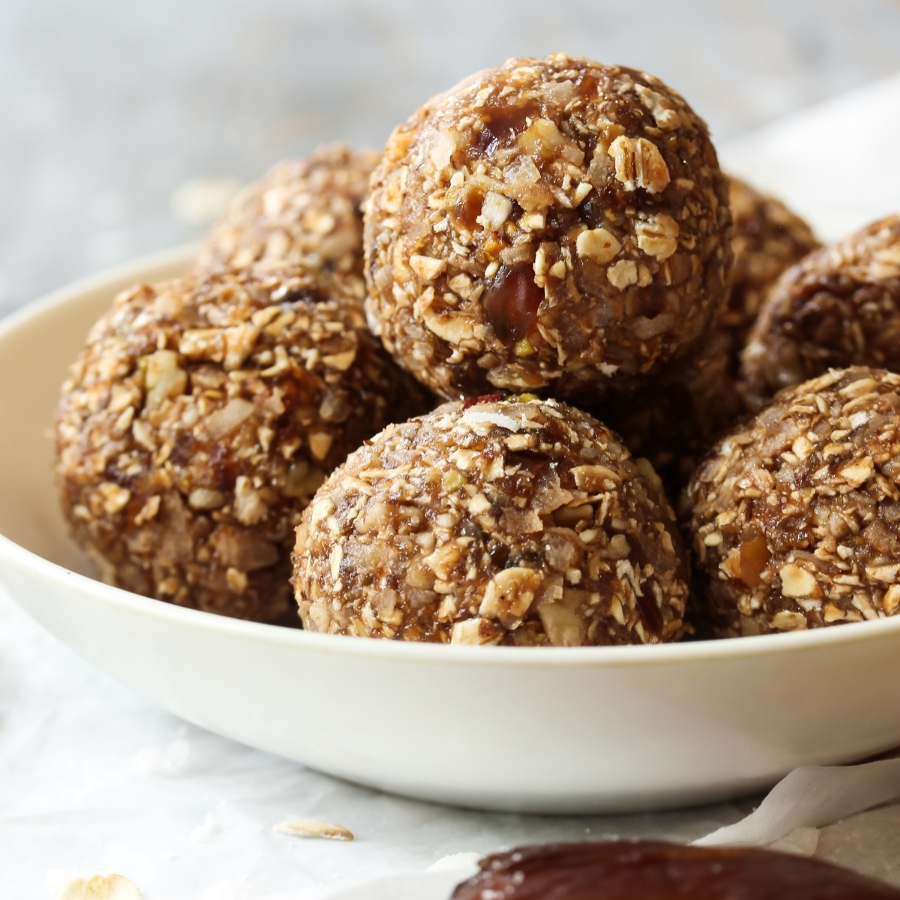
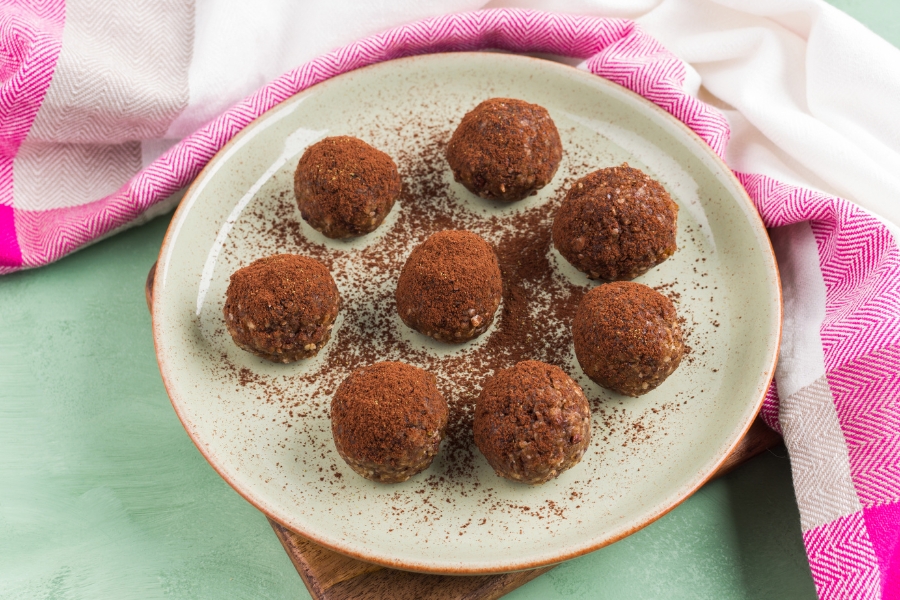
5-Ingredient Vegan Protein Balls
💪🏼 🥜 Packed with plant-based protein and wholesome ingredients, they’re perfect for meal prep, providing a nutritious, grab-and-go snack that keeps you energised throughout the week. No baking required—just mix, roll, and enjoy a guilt-free treat anytime you need a boost!

Prep Time: 10 Mins | Inactive Time: 30 Mins
Total Time: 40 Mins | Servings: Adjustable
Let's Be Friends!

Hi, I'm Susy
Here at
LEAN💚Plant-Based
we share whole food plant-based recipes, inspired by cuisines from all around the world: Reimagined for optimum health, and redesigned for sustainable weight loss and control.
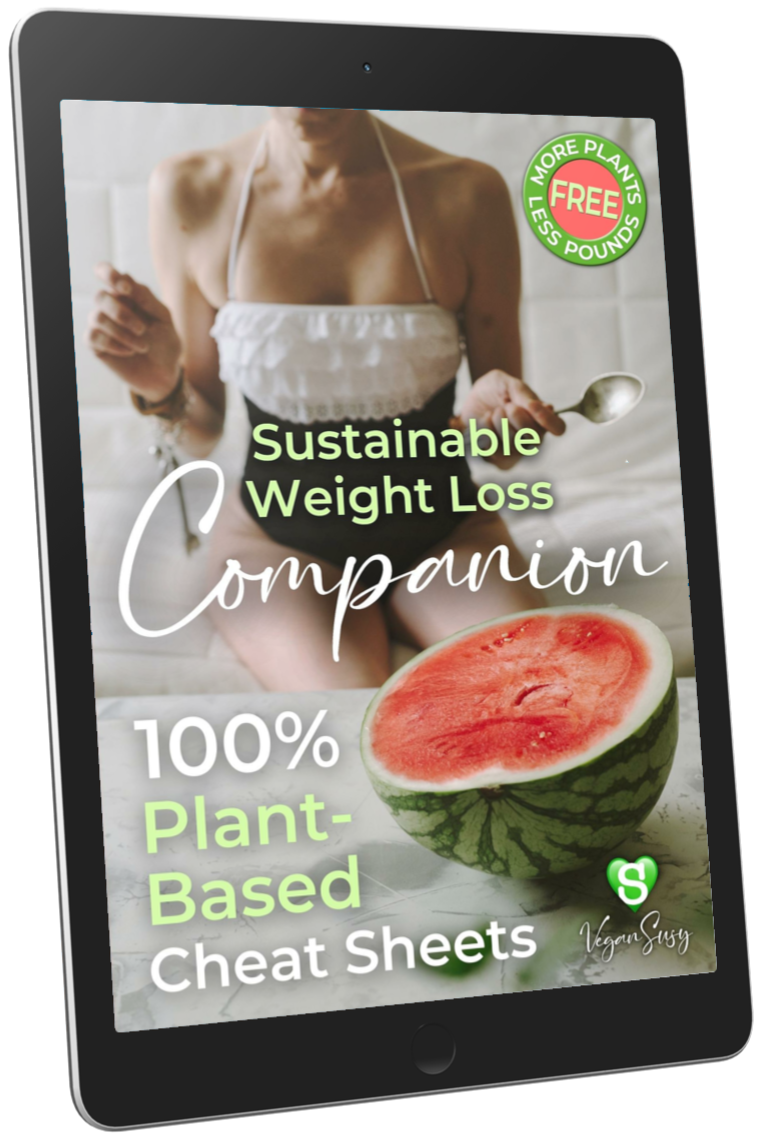
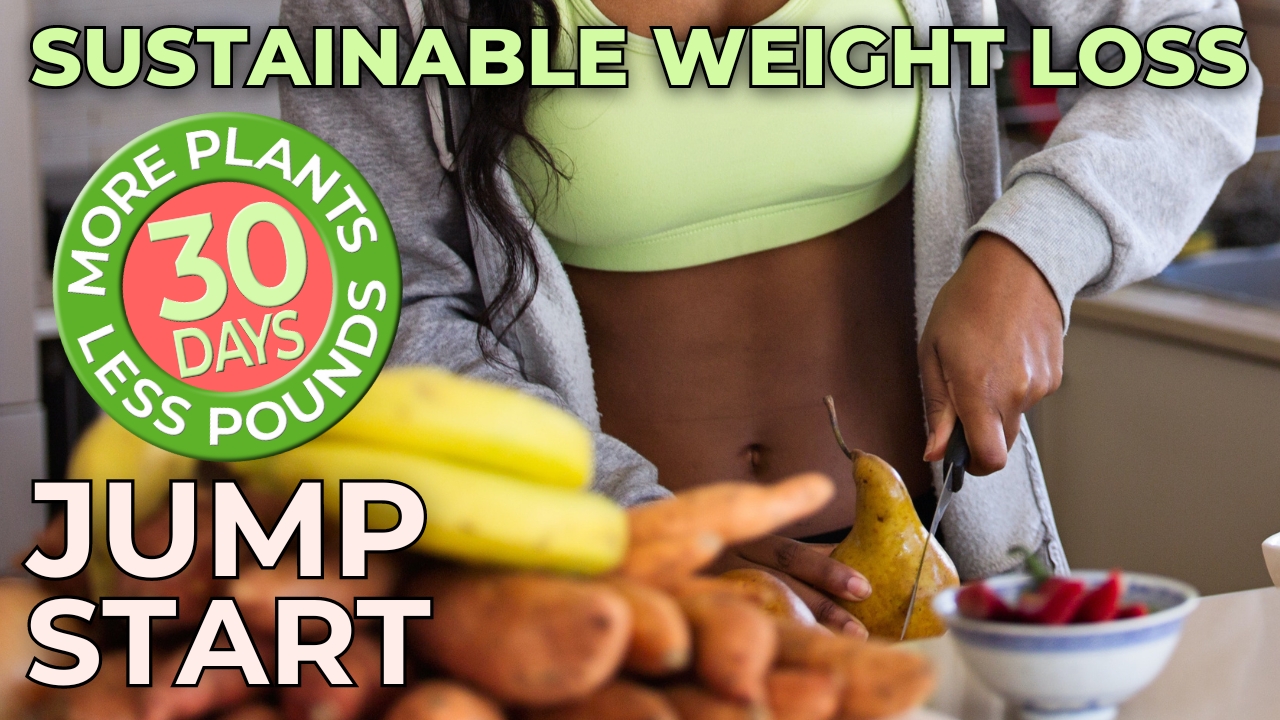
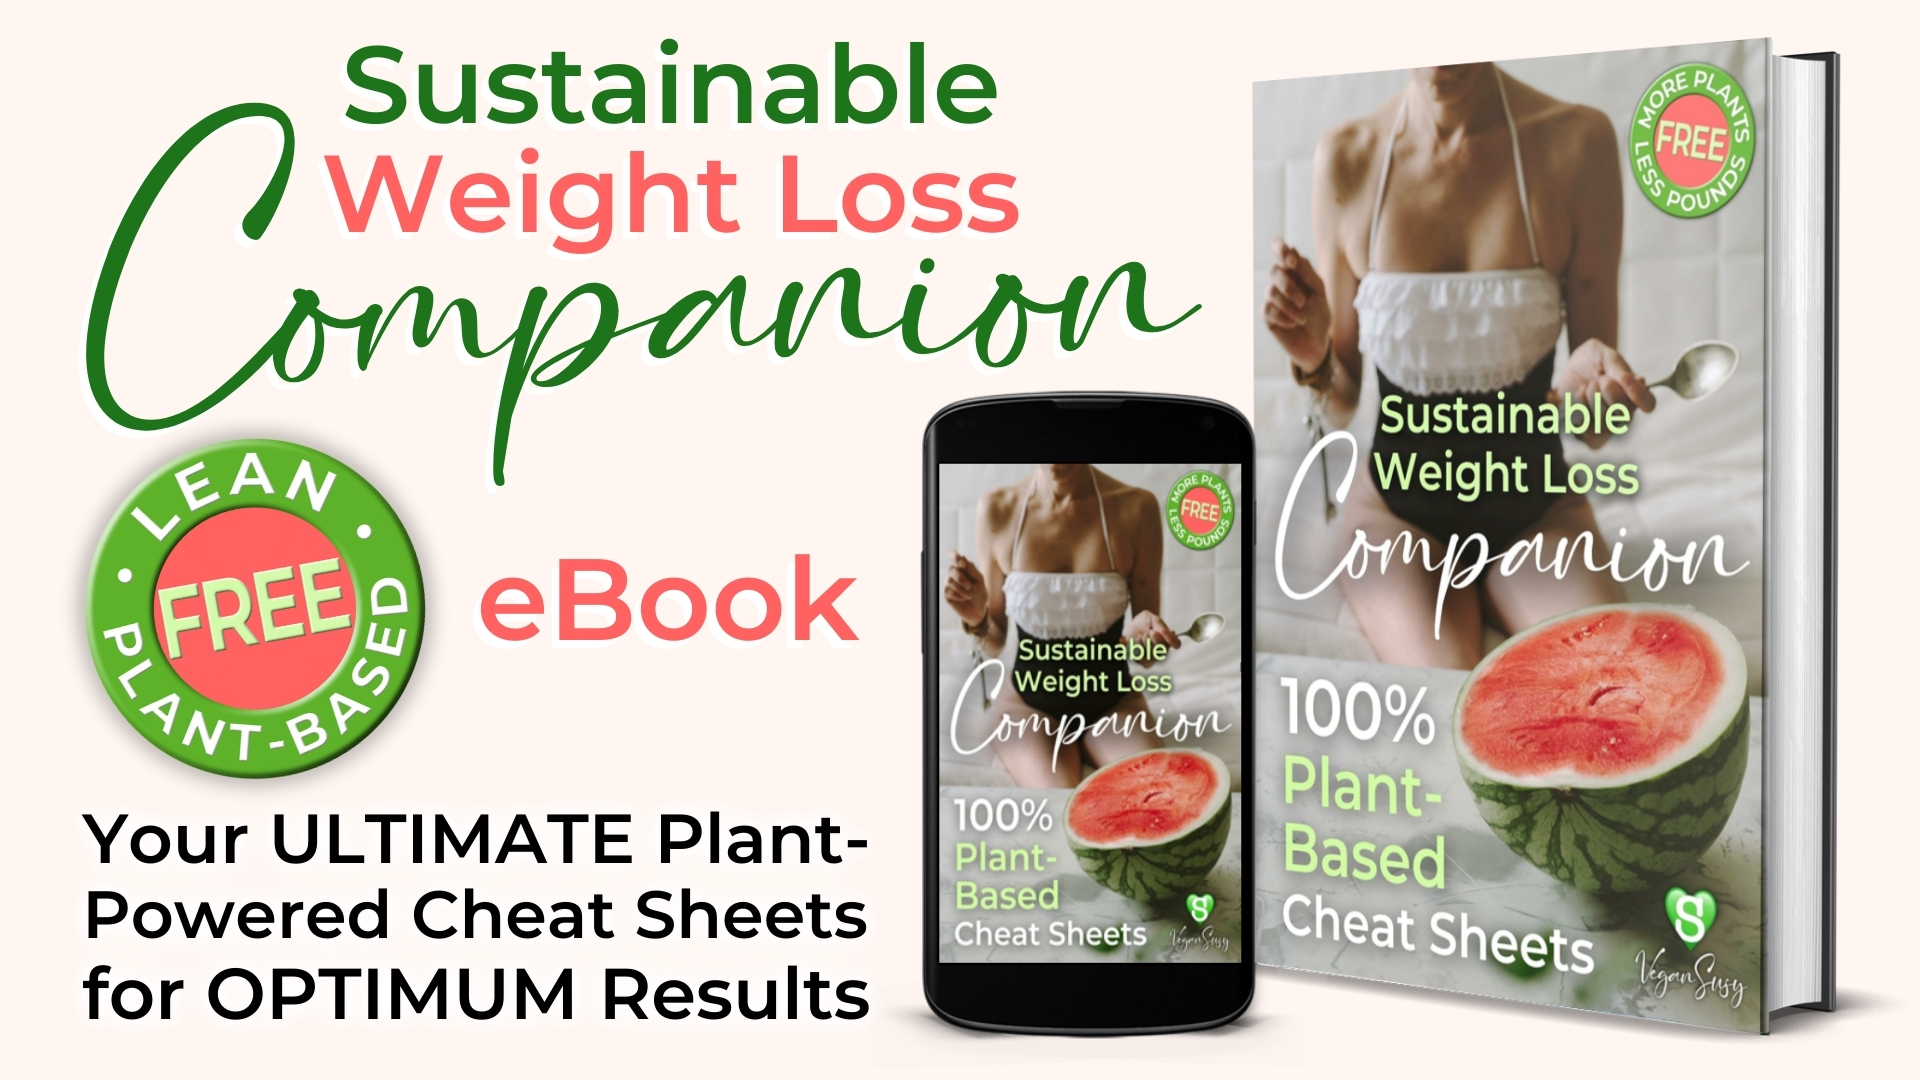
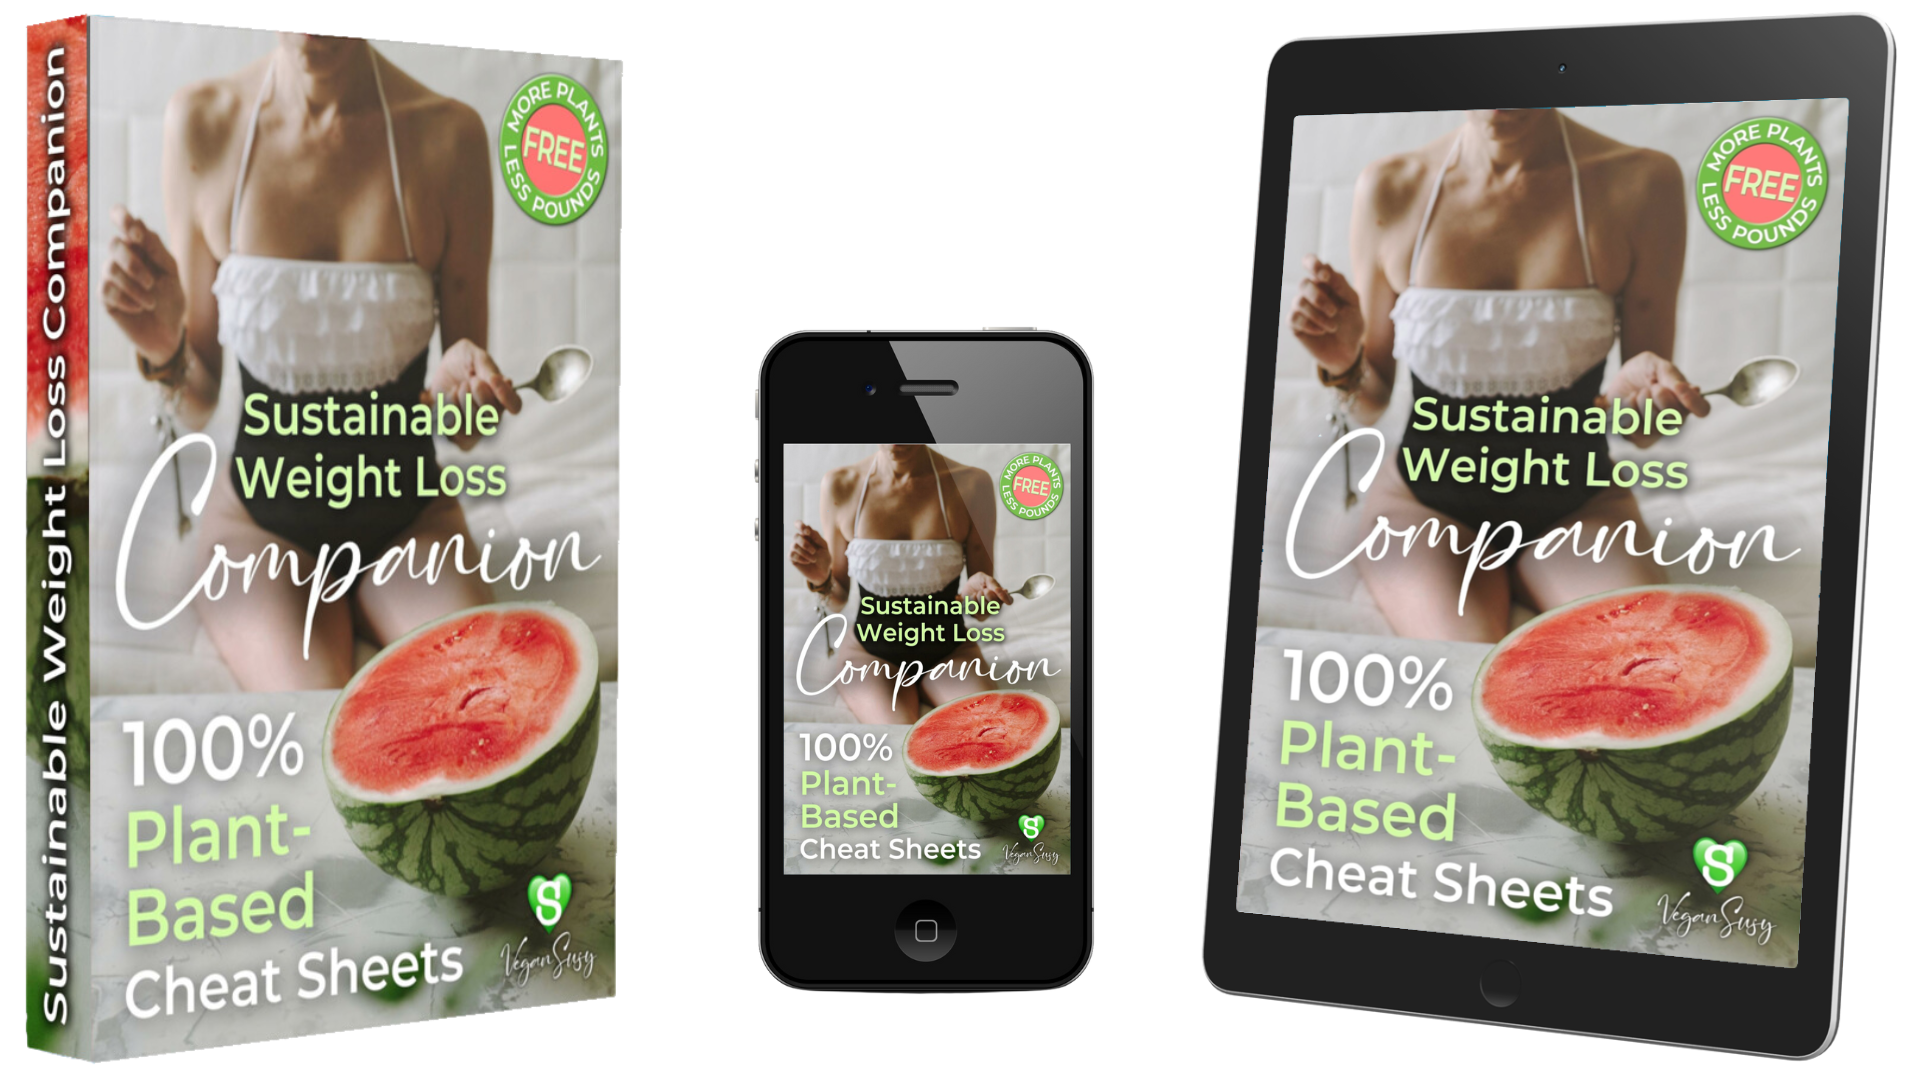
Get My FREE eBook:
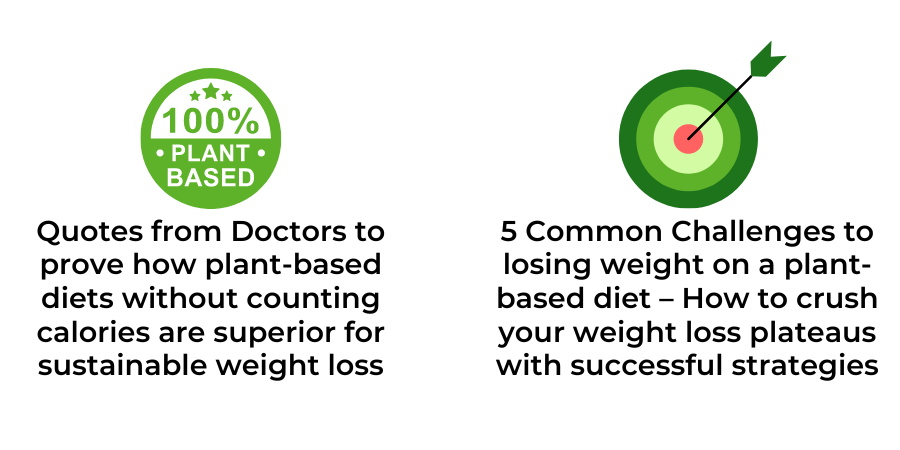
The Sustainable Weight Loss Companion
👇🏼
Who knew one snack could go by so many names? Energy bites, protein balls, energy balls, just “balls” or “bites”... I’m sure there are even more out there. No matter what you call them, one thing is for sure: they are one of the best options for easy, healthy snacking.
Table of Contents
Why This Recipe Works
Nutritious
Vegan Protein Balls: a treat that’s as sweet as a first date but as reliable as a wholesome bowl of mocha oats. Rich in protein and low calories. No-bake, dairy-free, gluten-free, oil-free and can be nut-free if you need it to be!
So Delish
As easy as it is to find plant-based protein balls on the market, I have yet to find one that I like more than these homemade energy snacks. I grab one or two when leaving for the gym, and they give me enough energy to stay powered through my entire workout.
Guilt-Free Snack
I’m one of those people who ALWAYS need a snack between meals to keep hunger at bay. But I also want to keep it healthy. That’s where the protein balls come in. They are made with wholesome ingredients (assuming you use quality vegan protein powder), so they make for a nutritious (but super delish) snack.
Meal Prep Friendly
The first thing on the list when I’m meal prepping. I love to make protein balls in advance—and then have them on hand for the entire week.
Easy
You can make vegan protein balls in just 10 minutes, no cooking skills required. It’s a no-bake recipe. You won’t even need a blender! Super easy, super simple.
Customisable
I know you might have some store-bought favourites (I have a couple of faves too), but I still love to make homemade vegan protein balls. I get to control the ingredients, and they’re way cheaper. Plus, coming up with unique flavour combos is so fun 🤤

Recipe Ingredient Notes
Oats. The perfect slow-releasing energy carb. Old-fashioned rolled oats work best for this recipe (I used Bob's Red Mill organic quick-cooking rolled oats). I find them easier to chew and digest for no-bake recipes, and they also happen to be gluten-free!
Nut butter. Acts as a binding agent. I prefer to use peanut butter because it’s my all-time favourite. Any nut (or seed) butter will work, as long as it's natural (which means no added sugars or oils). Extra calories are a reason too, but nut butters with oils don’t incorporate as easily as drippy nut butter.
Protein powder. You have plenty of options here. Soya or pea protein, peanut protein powder, brown rice protein powder, quinoa protein, etc. I personally recommend Nuzest if you’re in the US as It has a clean ingredient list, which I’m a huge fan of, and it also adds some fun flavours, like vanilla. In the UK I usually go for MyVegan and I can also personally vouch for Free SOUL vegan protein blend as it’s uniquely formulated for women.
Agave or maple syrup. The glue that holds the protein balls together (and adds moisture to them). It brings just the right amount of sweetness to these energy bites, and pairs perfectly with the nut butter. Other sweeteners like rice syrup or coconut nectar are also accepted, but you might need to tweak the recipe since the consistency will be different.
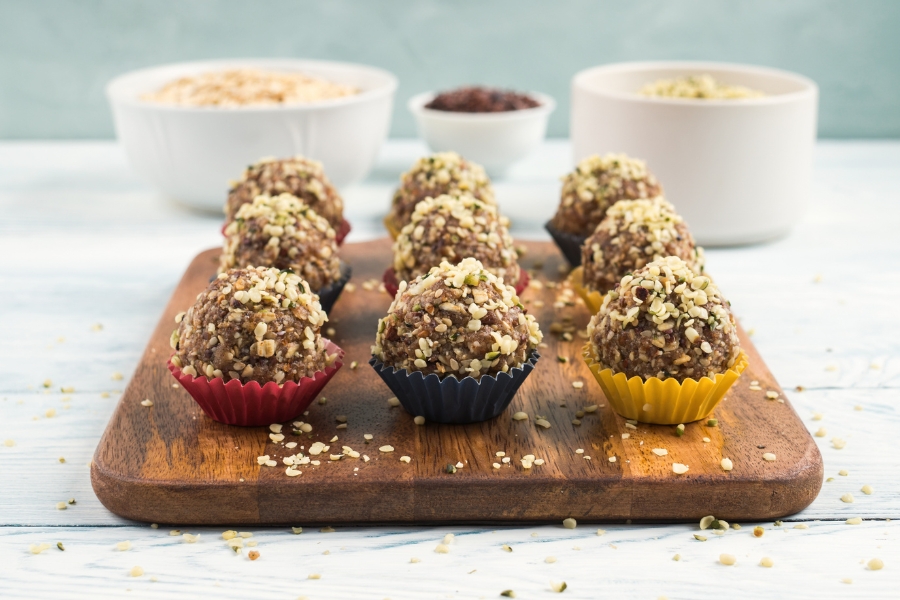
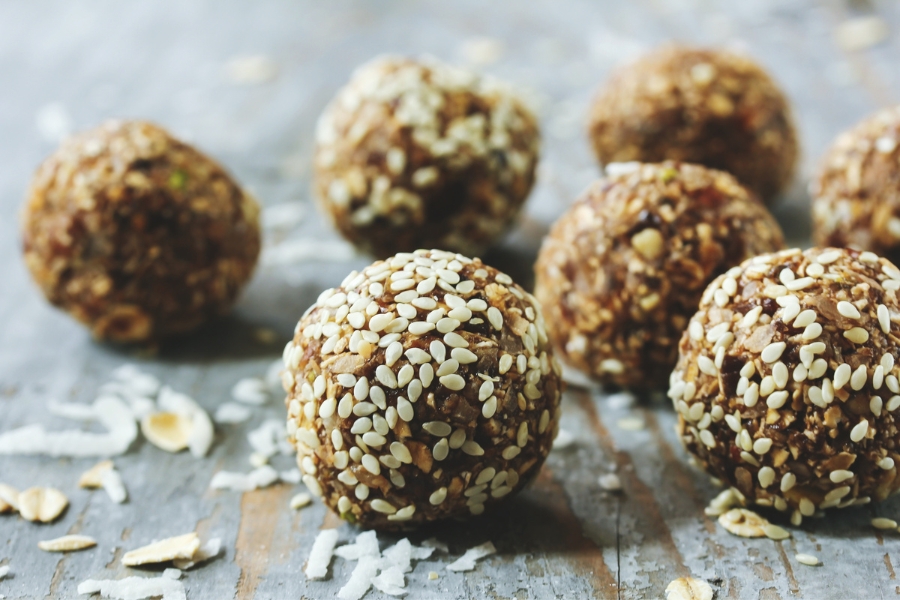
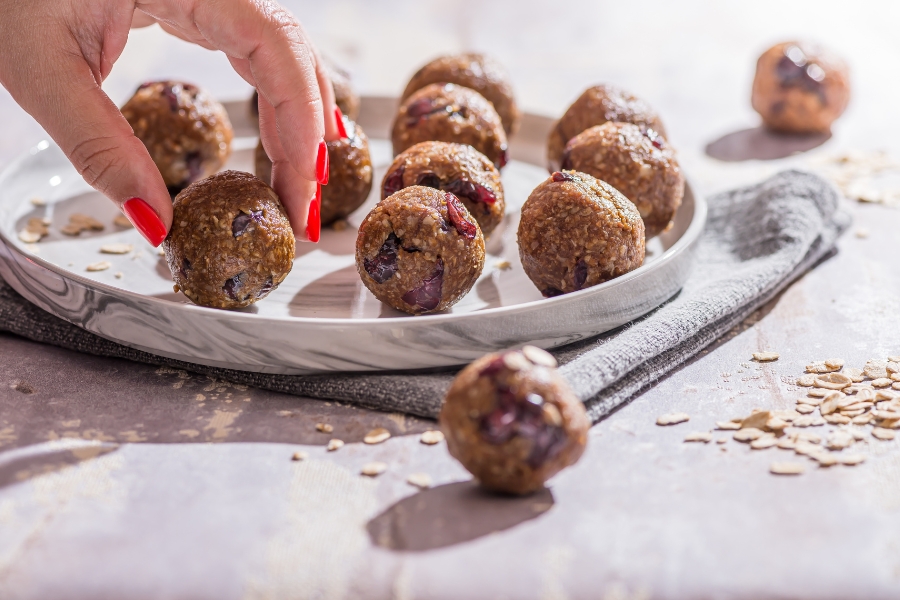
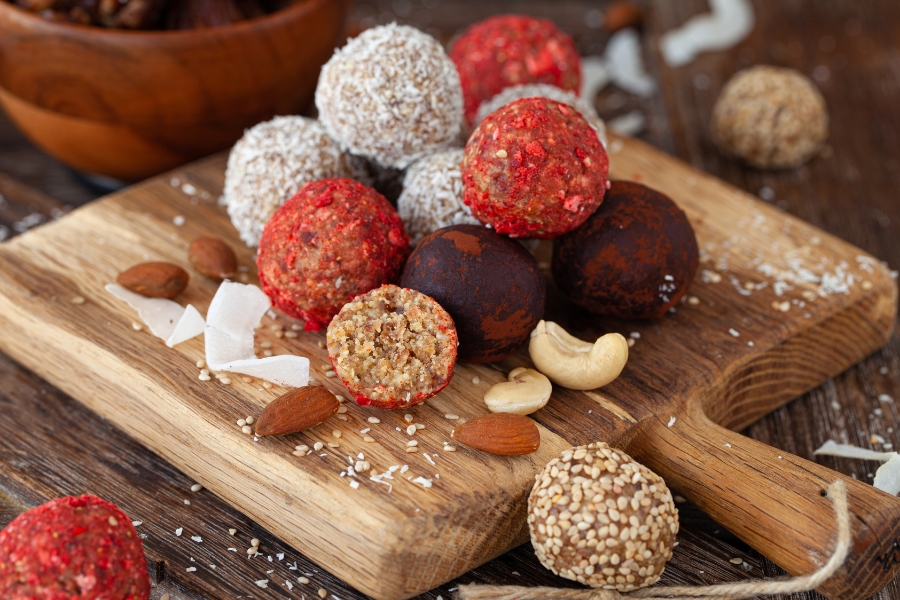
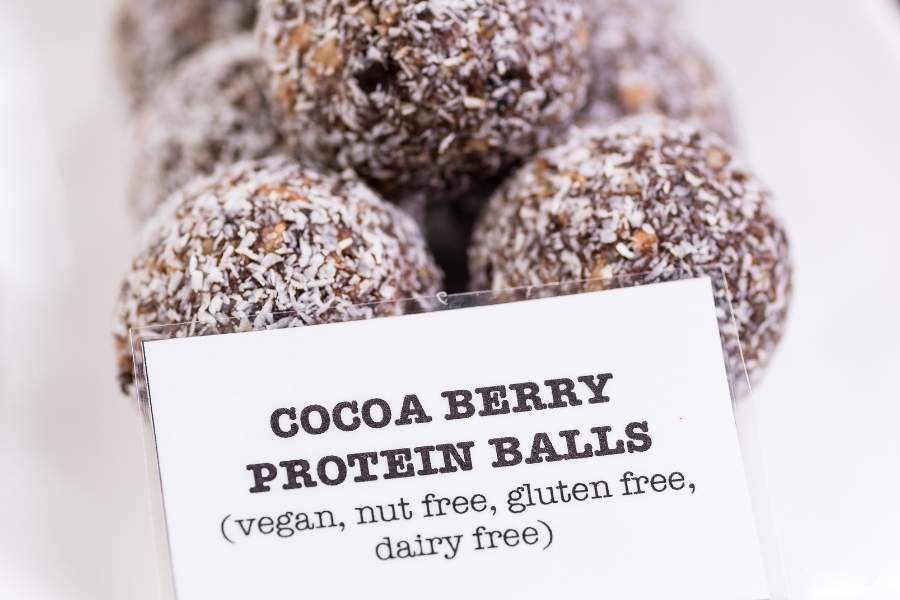
Goodies, like nuts, seeds, cacao nibs, dried fruit, dark chocolate chips, chia seeds—or whatever you like. I use them as a crunchy addition to the protein ball mixture, and as a delicious topping at the end.
How to Make Gluten-Free Protein Balls
Mix, mix, mix. That’s it.
Mix the proteins and oats together first. Then add in the nut butter and maple syrup. Finish off with the goodies. You can also sprinkle in your favourite seeds, like sesame or hemp.
Roll the mixture into bars or balls, however you like. Cool in the fridge for about 30 minutes—and your homemade healthy snack is ready to enjoy 🥜 😋
Variations, Ideas & Notes
📑 Substitutions
Quinoa flakes instead of oats.
Tahini instead of nut butter (if you’re allergic to nuts).
Mashed ripe banana instead of maple syrup.
🥥 Optional Add-ons 🍫
Pumpkin spice (for a holiday-specific treat)
Vanilla extract
Shredded coconut
Cocoa powder
Matcha powder
A pinch of Himalayan salt
Ground coffee
Pro Tips for Making Vegan Protein Balls
Use a drippy nut butter. It can be hard to mix the balls when you have a more “dry” or “solid” nut butter, so I recommend finding a runny option. If you’re using almond butter, try Wild Friends creamy almond butter.
The mixture might be too dry if your nut butter isn’t drippy enough. Add a splash of almond milk if that happens. If the mixture is too wet, a bit more rolled oats can help.
To make your protein balls more kid-friendly, cacao nibs or sprinkles are yummy choices.
If the mixture doesn’t hold together when you form the balls, chill it in the refrigerator for about 30 minutes.
Coat your hands lightly with oil when rolling the balls. You can also use a small cookie scoop or tablespoon to do the job.
Frequently Asked Questions
How to enjoy vegan protein balls?
Though a great snack, vegan protein balls also make for a delicious breakfast. I pair my homemade energy bites with a glass of vegan berry oat smoothie—and sometimes with a bowl of chia fruit pudding. You can also have them with…
Veggie crudités
Herbal teas
Vegan yogurt
Fresh fruit
Vegan latte
How to store plant-based energy bites?
At room temperature: You can keep your protein balls in an airtight container over the countertop for a few days. Do note, they might become softer and less firm over time.
In the fridge: I store my protein balls in glass containers. They stay fresh in the fridge for up to 2 weeks (only if they last for that long, though 😆)
In the freezer: Lay out your protein balls on a baking sheet lined with parchment paper. Allow them to sit in the freezer until fully solid. You can then transfer them into freezer-safe bags and enjoy your energy bites for up to 3 months!
Are these protein balls good for weight loss?
Yes! They’re made with whole, nutrient-dense ingredients that support weight loss while keeping you full and energized.
Can I make these protein balls without nuts?
Absolutely! You can swap nut butter with tahini or sunflower seed butter for a nut-free version.
Do I need a blender or food processor to make them?
No! This is a simple no-bake recipe that only requires mixing ingredients by hand.
Other Protein-Rich Recipes You Would Like…
Did You Love the Recipe as Much as I Do?
Leave a ⭐⭐⭐⭐⭐ rating on the recipe card—and don’t forget to tag me @vegan.susy on Instagram to show me your 👩🏻🍳MasterChef creation 🤗

More Free Resources
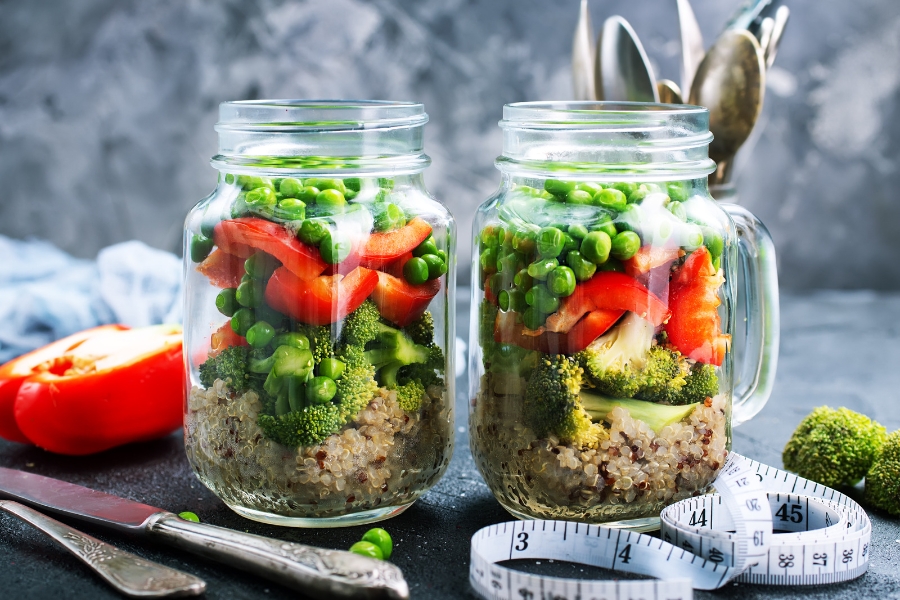
The Ultimate Guide to Plant-Based Meal Prep for Vegan Weight Los
Ready to revolutionise your meals and your health? Look no further than a vegan diet! Discover the ease and benefits of meal planning and preparation with simple strategies and my tasty make...
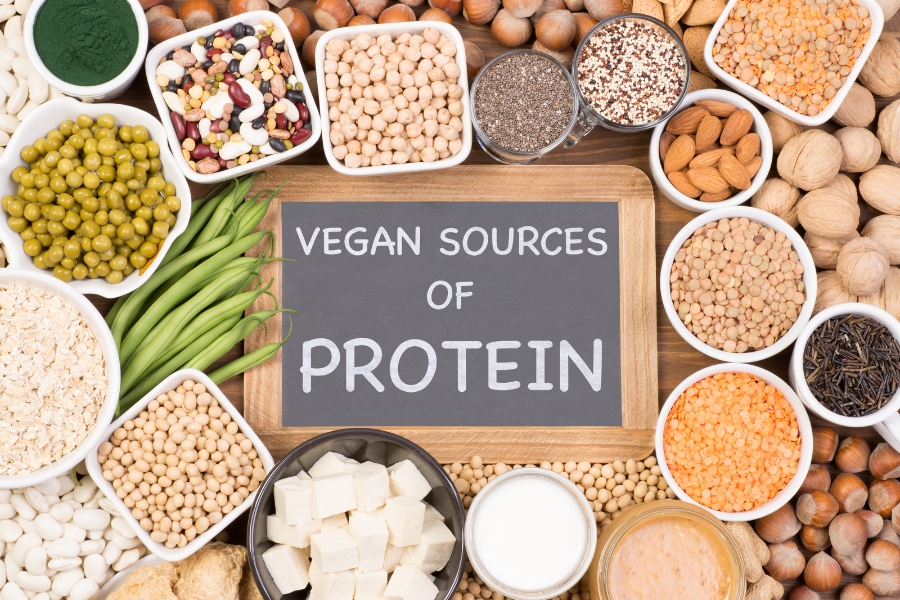
Top 15 Plant-Based Protein Sources for a Vegan Diet
As a vegan health coach and plant-based nutritionist, I often get asked about plant-based protein sources. After all, protein is an essential nutrient that plays a vital role in the function and structure of our...
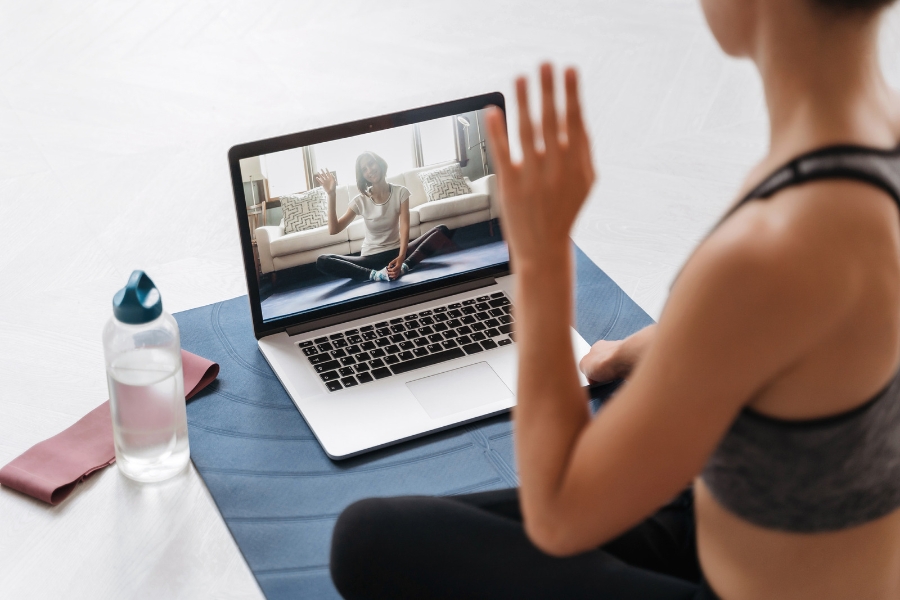
How Much Exercise Do You Really Need on a Plant-Based Diet?
Are you wondering how much exercise you need to get in shape and boost your energy on a plant-based diet? Look no further! In this post, we’ll dive into the optimal amount of exercise for optimal…
Unlock Your Transformation Today!
Empower Yourself: Embark on a Delicious Fat Loss Adventure

🍉 Get Ready to Jump Start Your Fitness Goals AND DISCOVER A HEALTHIER YOU!
🍉 Let's Make Your Fat Loss & Optimum Health Journey a Delicious Success Story!
🍉 Get The FREE Sustainable Weight Loss Companion eBook and CHEAT SHEETS!
Let's Be Friends!